Promised myself the next bag would be practical. Something that fits everything needed, most likely a crossbody so can easily grocery shop. And instead ended up with the least useful bag ever. But it is cute so (shrug).
Lately have been obsessed with the idea of an origami bag – rather intrigued by Moschino’s boat bag.
http://dustyburrito.blogspot.com/2013/06/desired-moschino-cheap-chic-pre-spring.html
Thought about making something similar but I don’t sail so didn’t think it would be used too much?
A dog on the other hand… So Origami Scottie bag.
This was time consuming. Like obnoxiously so.
First, had to find origami instructions that were:
- easy
- created a symmetrical piece
- something that could hold a pocket
Found this one: https://www.dreamstime.com/stock-illustration-step-step-instructions-how-to-make-origami-scottie-dog-animal-toy-cartoon-cute-paper-steps-image85656958
Practiced with paper.
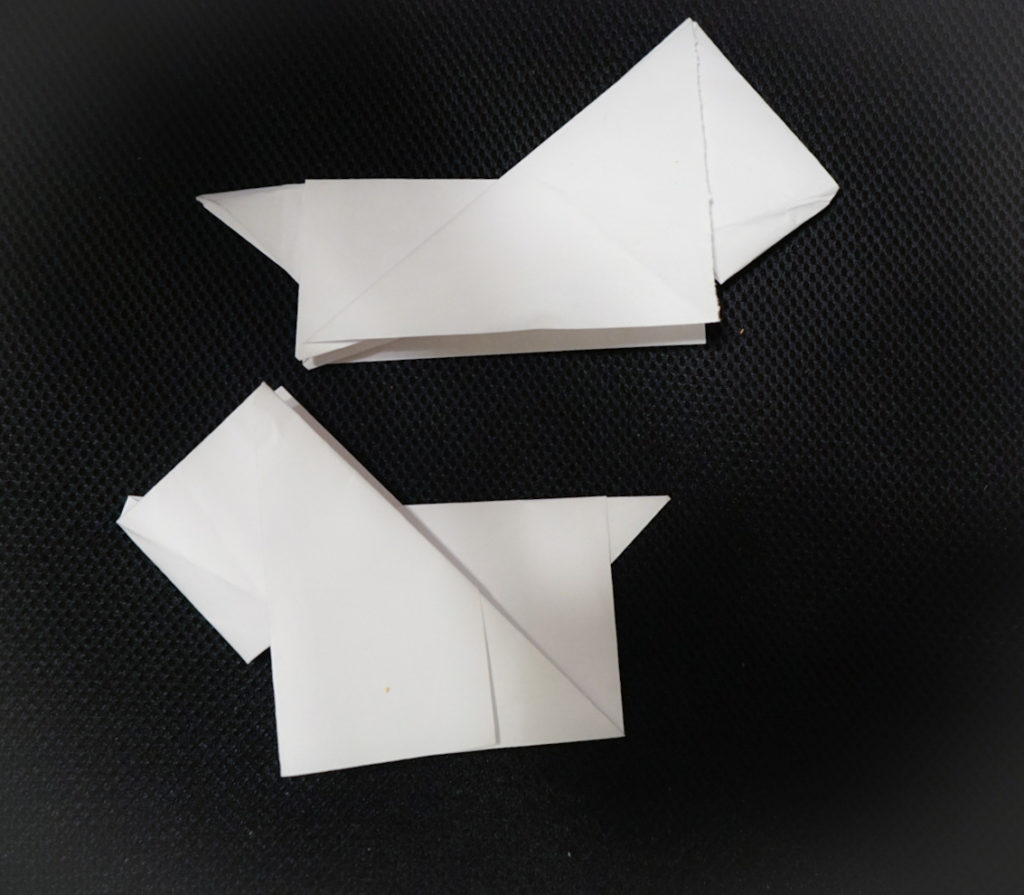
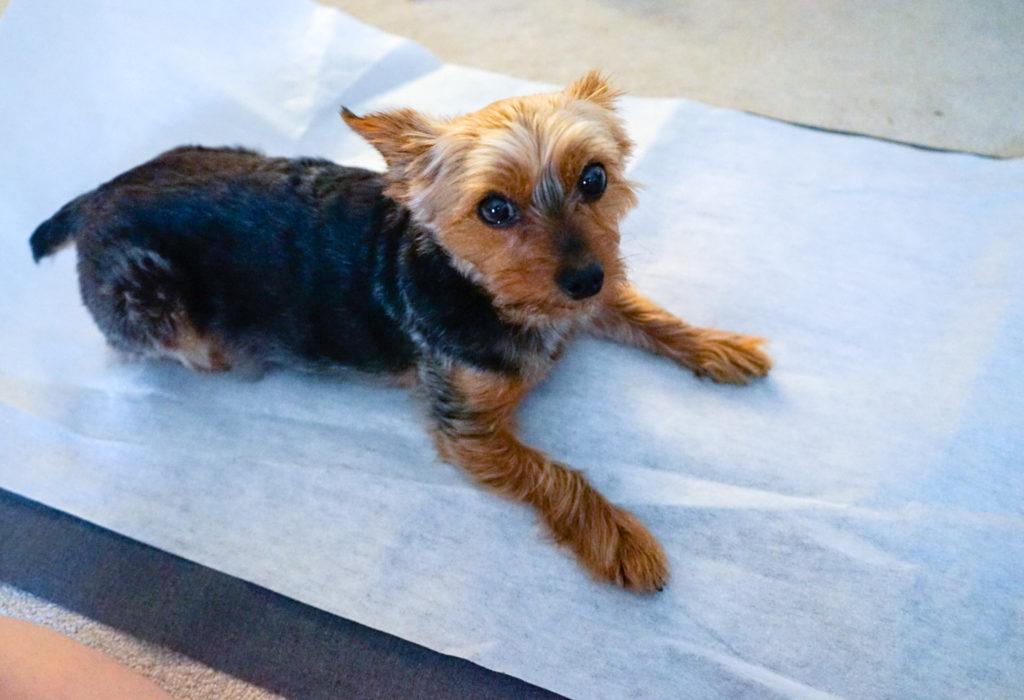
Depending on how the tail is folded, the body can by more square or rectangle. Preferred the yorkie look to the dachshund mix look.
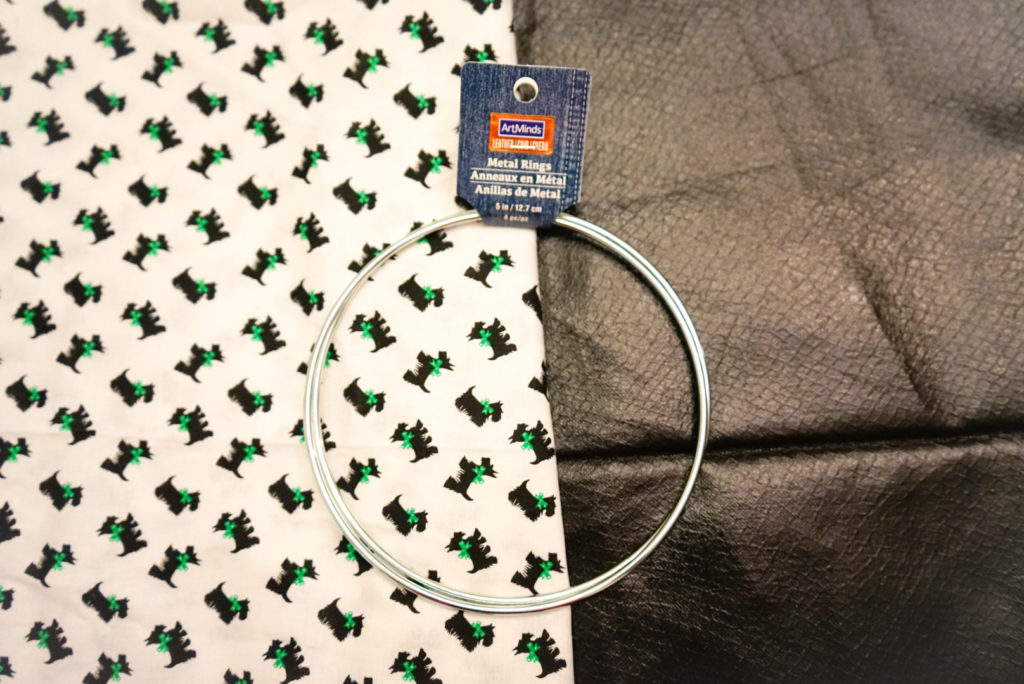
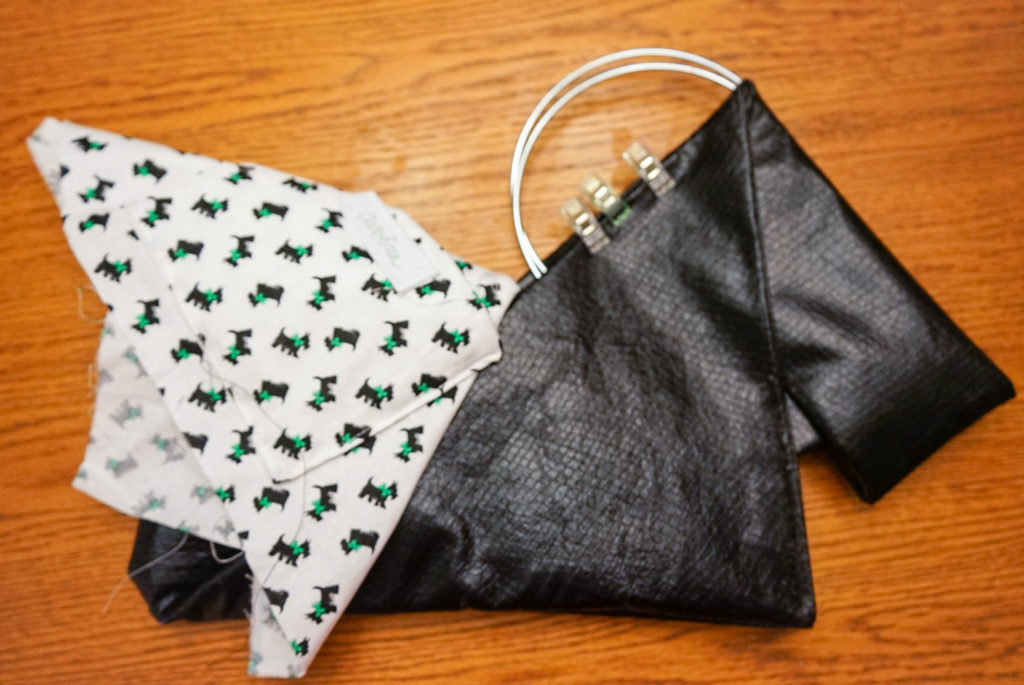
Materials:
- black foil faux leather – this is super thin material. Used 90 / 14 titanium needle to sew through multiple layers including interfacing and it didn’t break / bend
- cotton Scottie for the lining
- 5” metal rings – these were in the leather crafting section at Michaels. Would prefer if they were a thicker but for $2 and change for 4, can’t complain too much.
There wasn’t a plan. Went into it not knowing how or if this would work.
Co was going for the goth look?
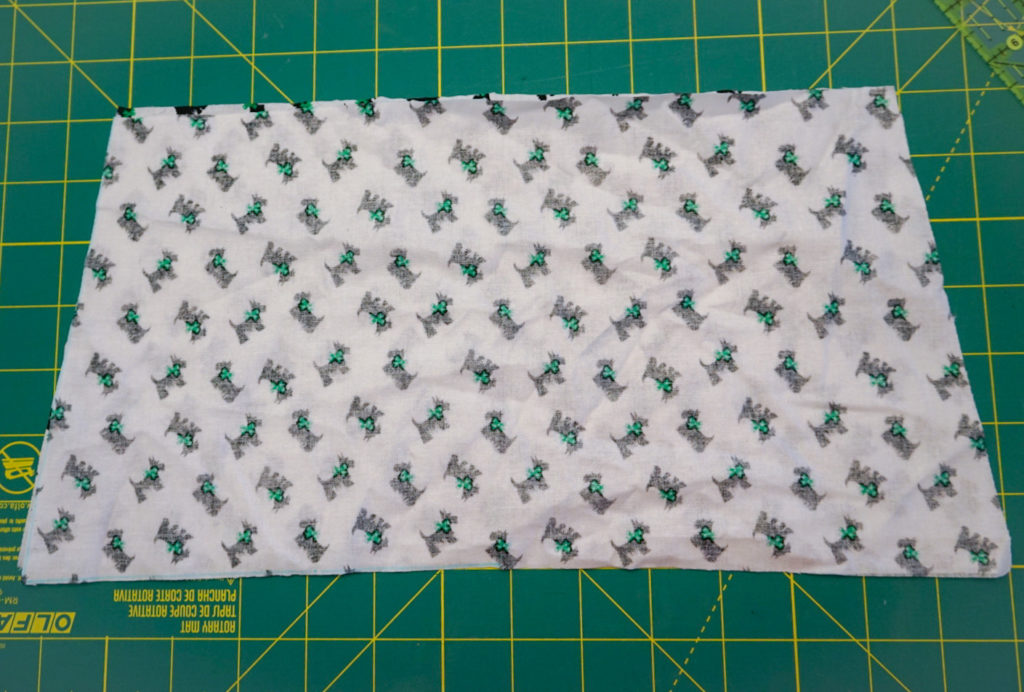
Cut a piece of the outer fabric about 22” by 45”.
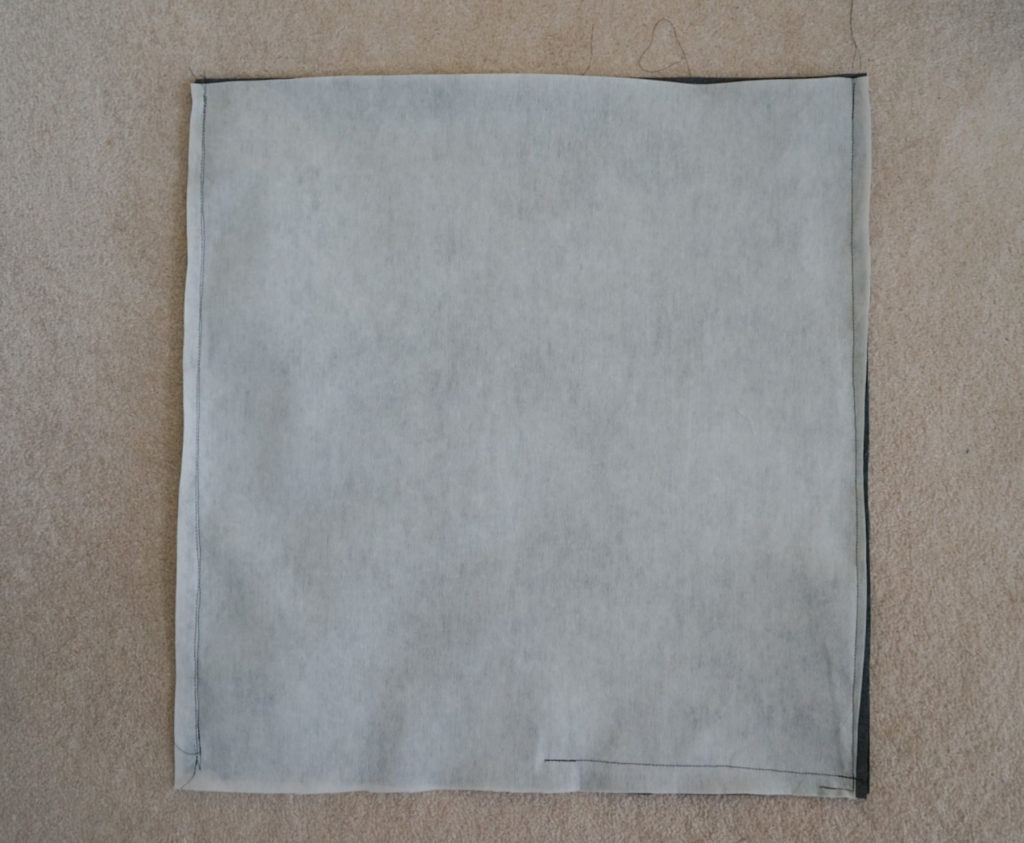
Folded in half and ironed on interfacing to the back. Would have preferred to use double sided but either didn’t have any or one side of what I thought was double sided wasn’t all that sticky.
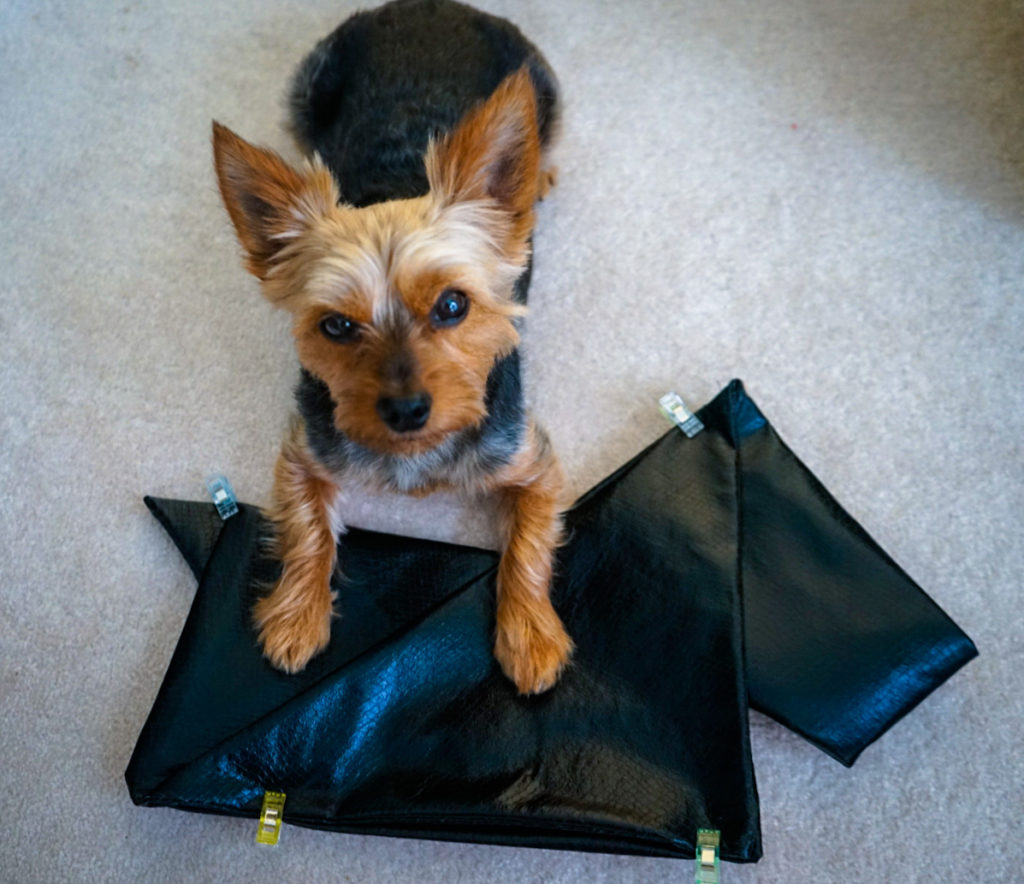
Zo wanted to get involved by being in the way.
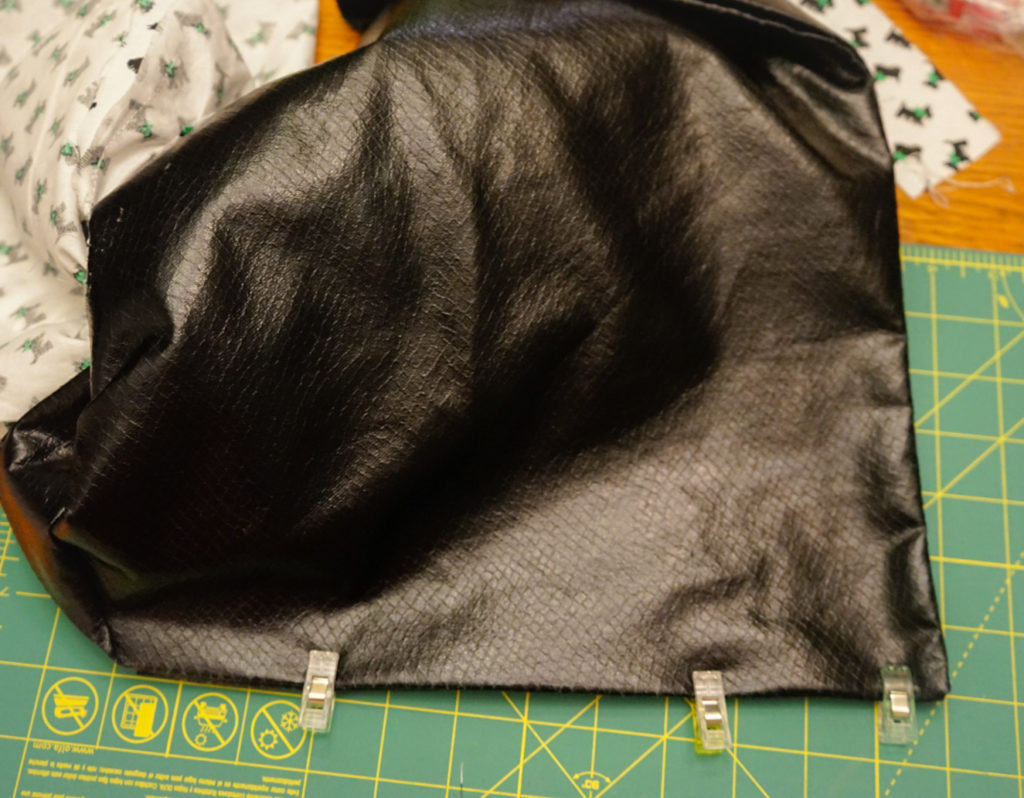
Sewed 2 of the wrong sides together, turned right side out, and sewed the final side.
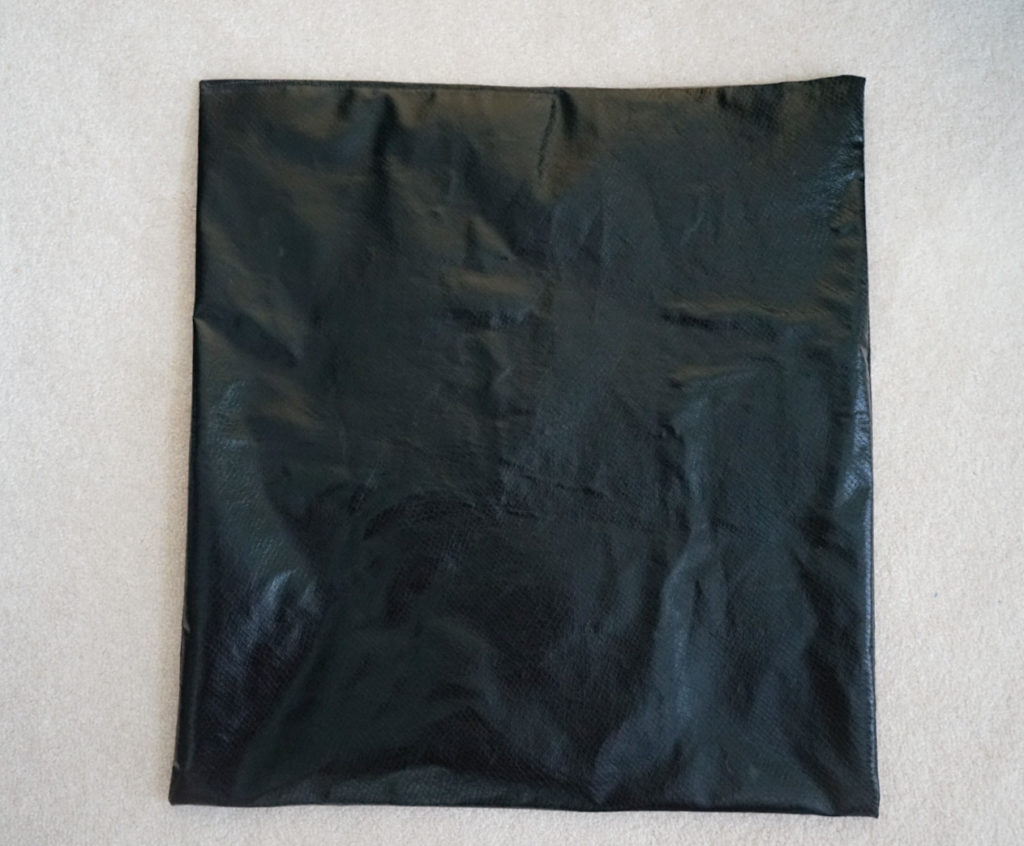
It was not a perfect square – off by about an inch on one side – which made this more difficult to make.
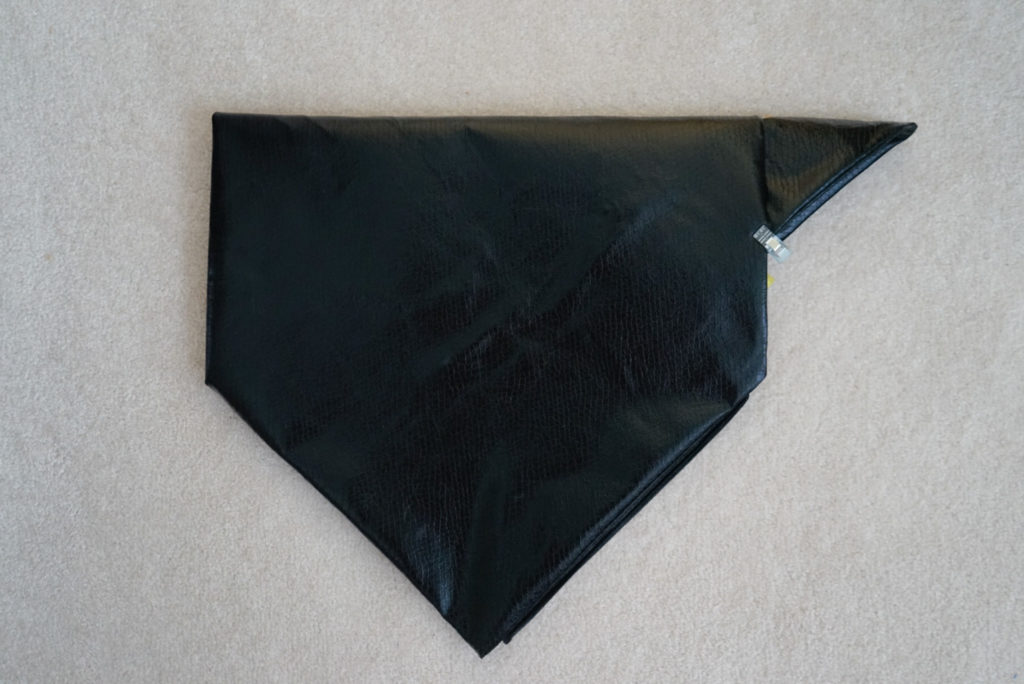
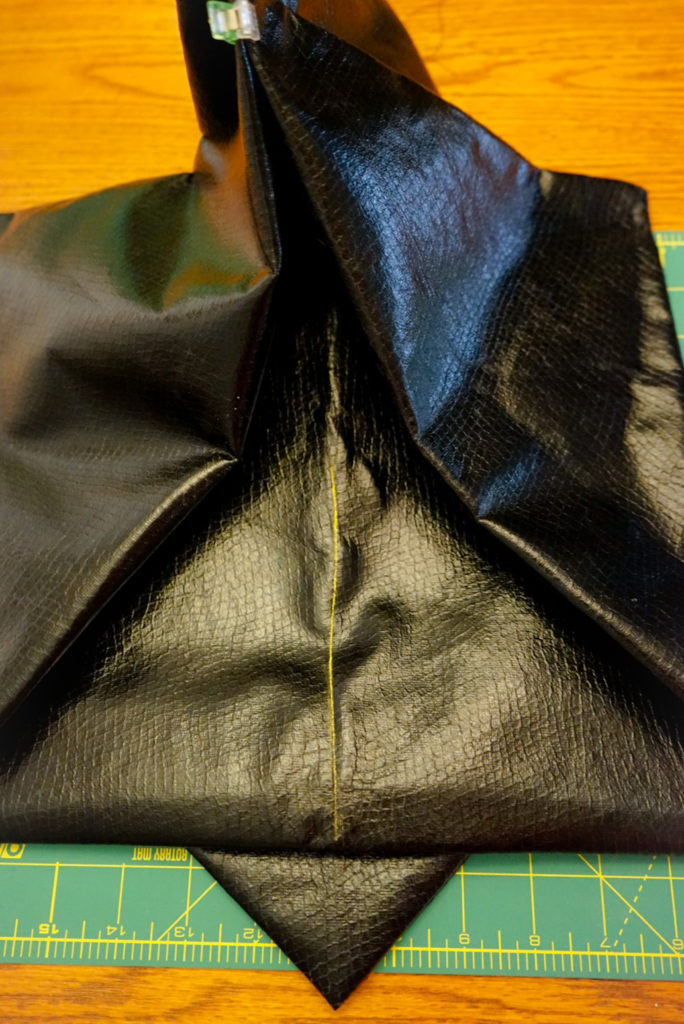
Folded the fabric into a dog:

Zo had to show it who’s boss.
Was thinking the bottom would have a gusset so cut the lining in trapezoid pieces – 12” top, 14” base, 7” height.
Prob should have just kept it rectangle. It ended up not having a gusset.
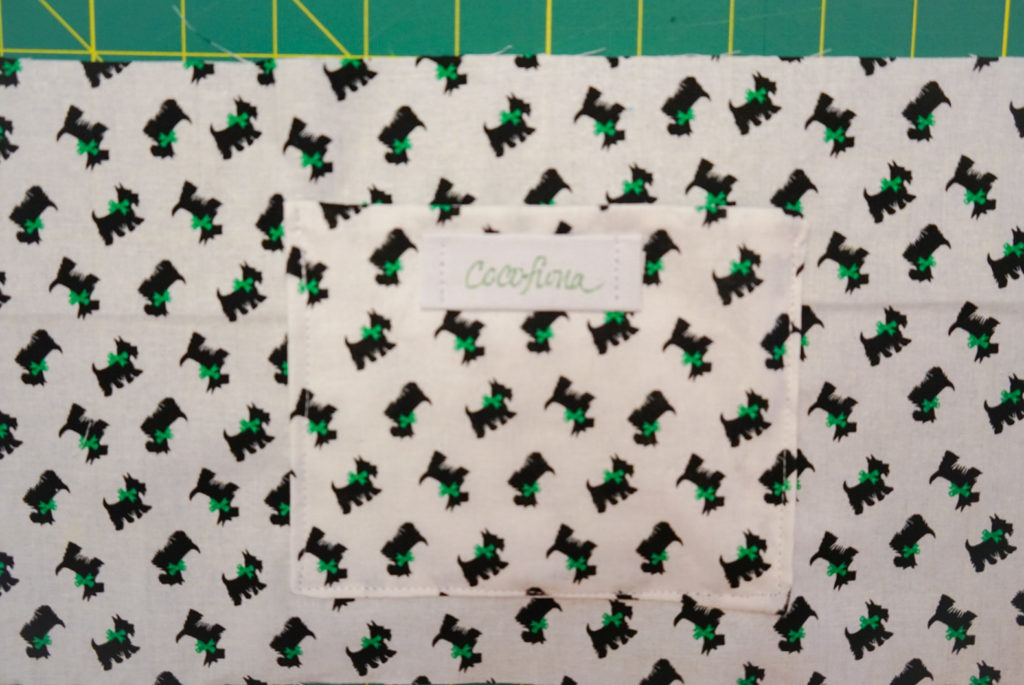
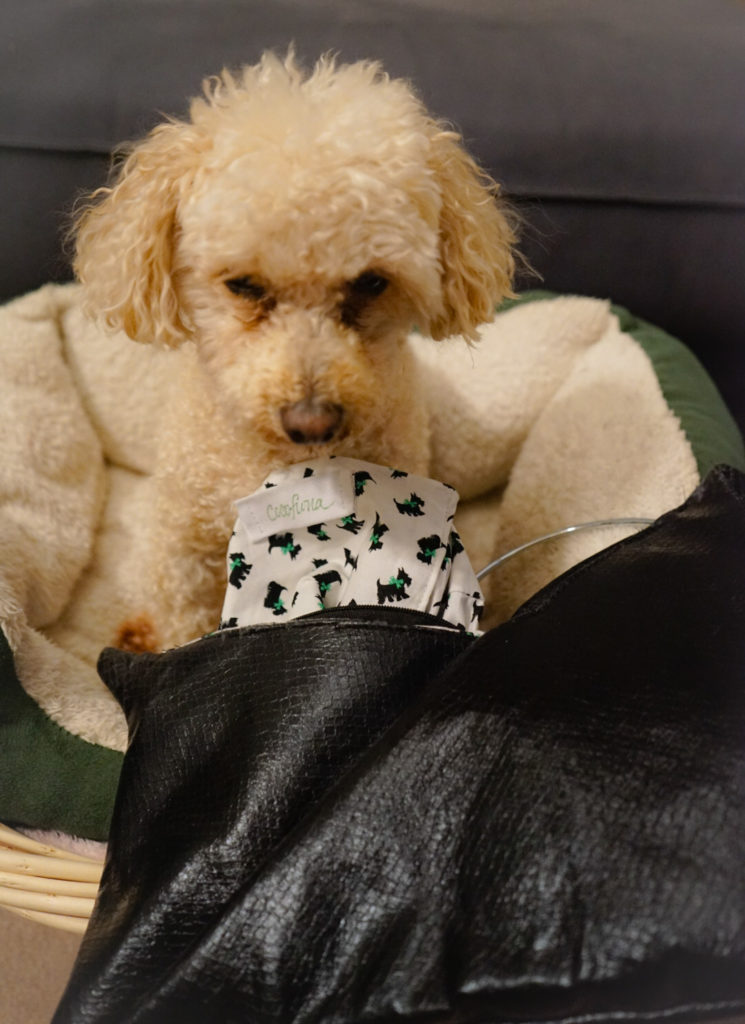
Added a simple 5” by 5” pocket with a cocofiona label.
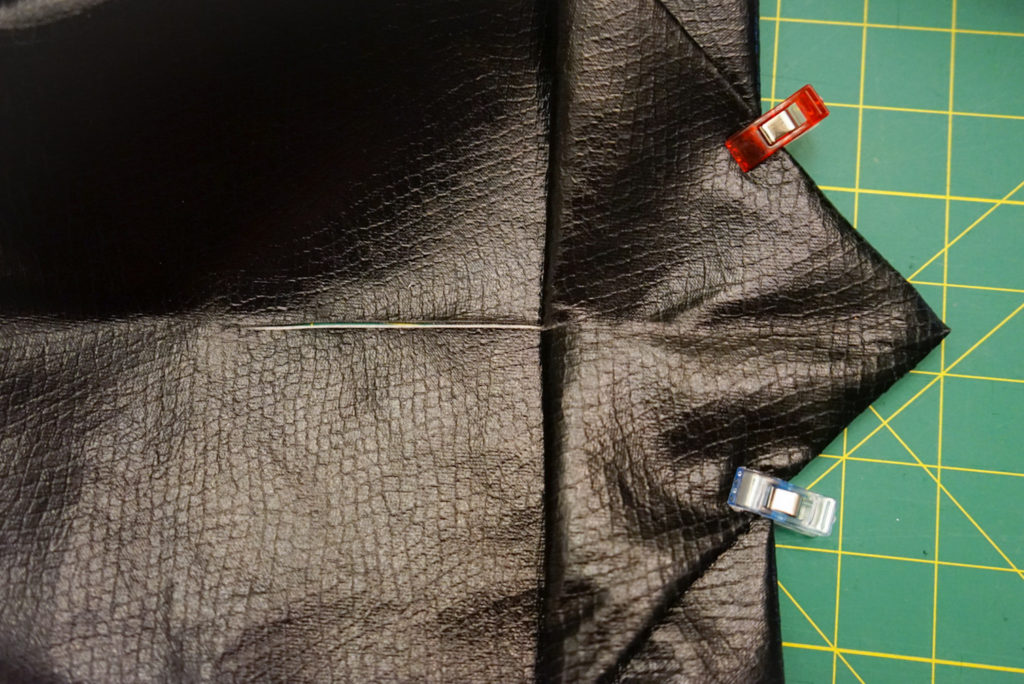
At this point, didn’t know how the head would be sewn so stopped the zipper line where the back and head meet.
The line was about 5 inches. Which in hindsight is just too short.
Cut the zipper line. At this point was planning on making this like a zipper pouch but realized it was more like a zipper pocket (so should not have cut).
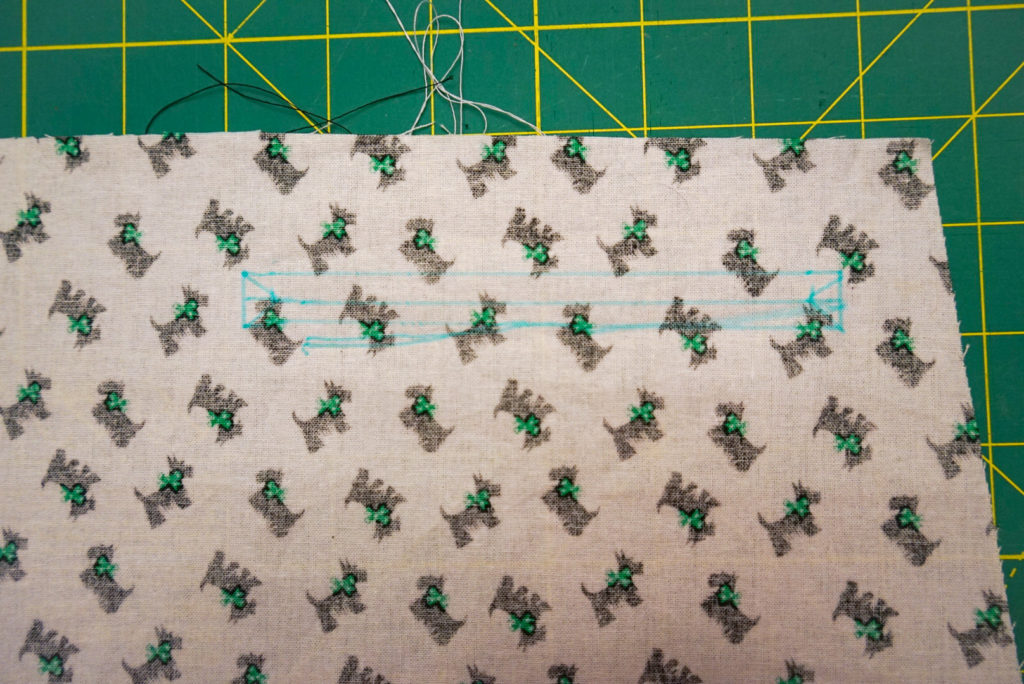
Drew the rectangle for the zipper on the liner.
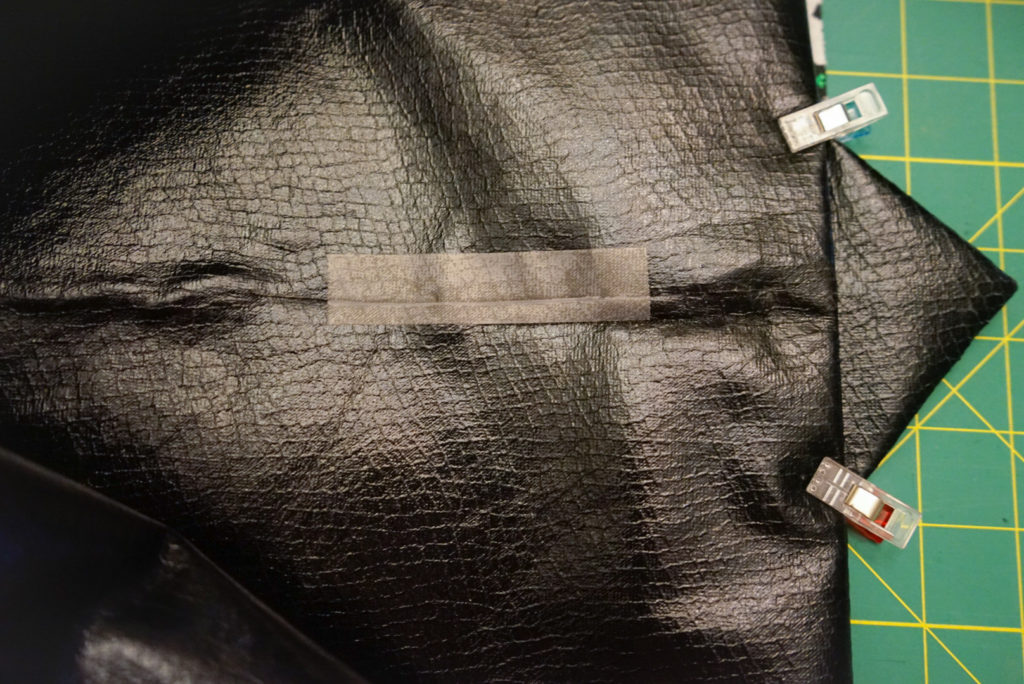
Taped the slit to make it easier to sew the lining to the outer. When removing the tape, some of the black material came off. Tape was not a good idea.
Ended up sewing the lining to the wrong side of the black fabric so had to cut and sew another piece. UGH ^%$#@!!!
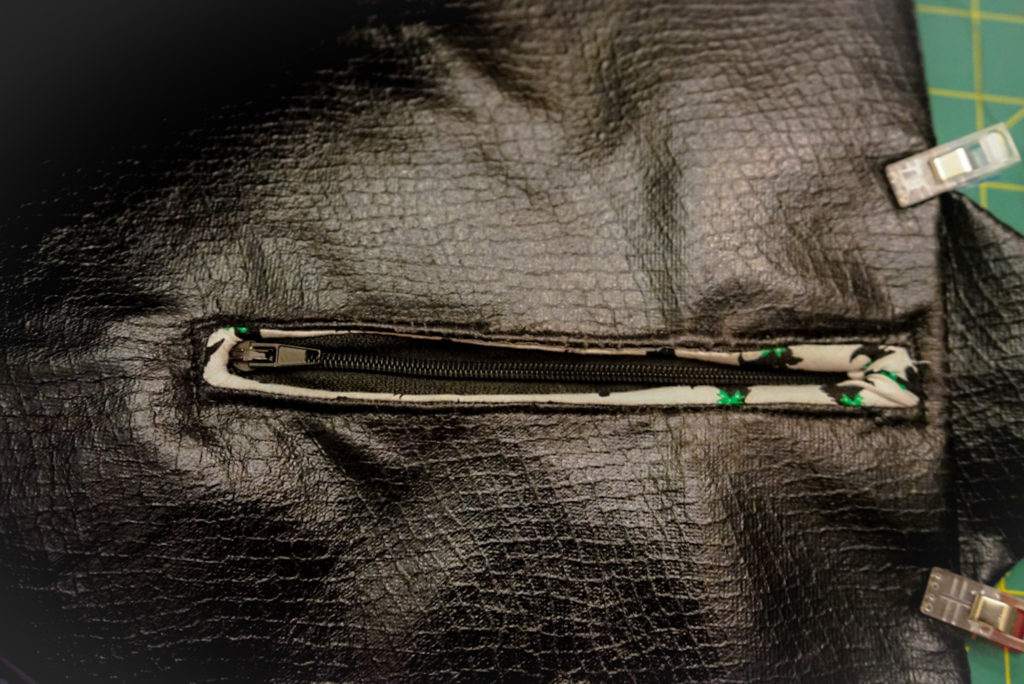
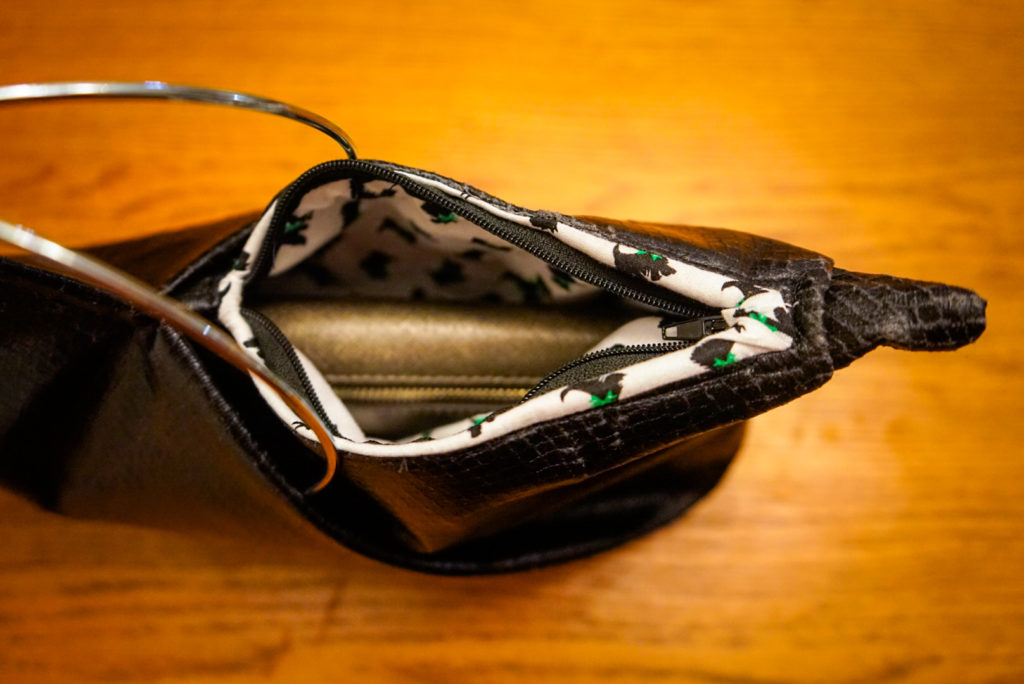
Sewed the zipper on. Forgot how the lining gets exposed so next time would prob pick a matching fabric. This was time consuming – because this is folded from one piece of fabric, the section near the tail had multiple layers of fabric and interfacing – it barely fit under the sewing machine foot. It looks messy 😠
Sewed the lining section above the zipper and one of the sides.
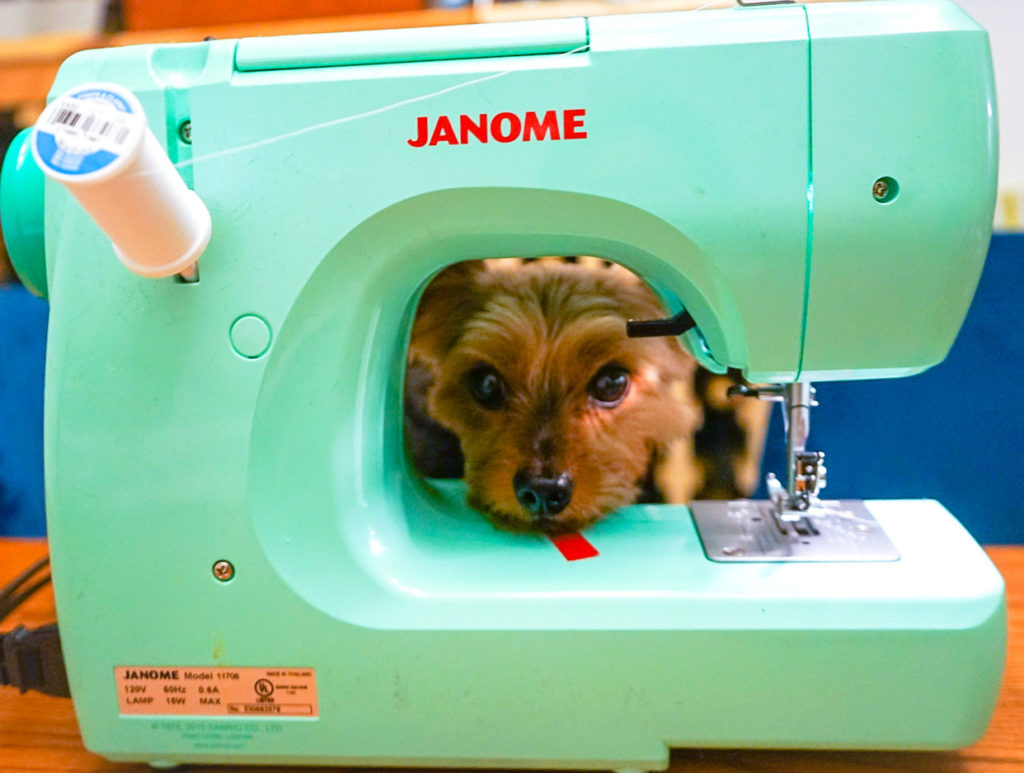
Zo tried to help figure out the next step.
Turned the dog inside out and sewed the line from the tail down.
After making sure I would be able to flip it right side out, sewed the base.
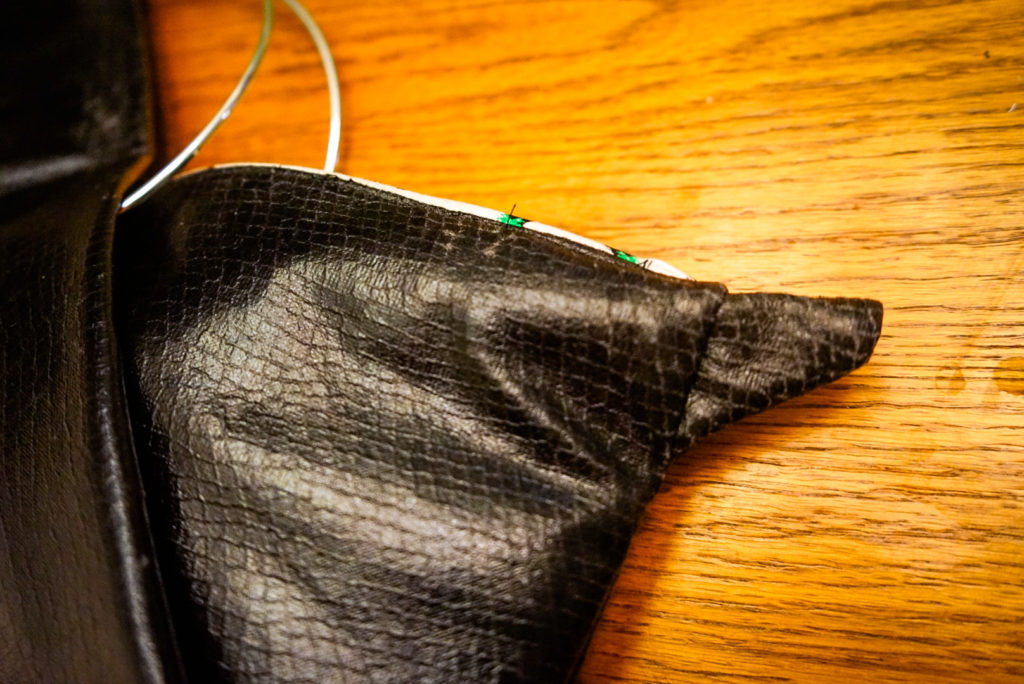
Reshaped the face and top stitched from the front foot to the chin – wasn’t able to sew to the top of the head because there were too many layers of fabric.
Placed the rings between the 2 sides of the head and sewed the middle section. Realized the handles slipped down and the top of the head kept hitting my knuckles so sewed a little above the rings to keep them in place.
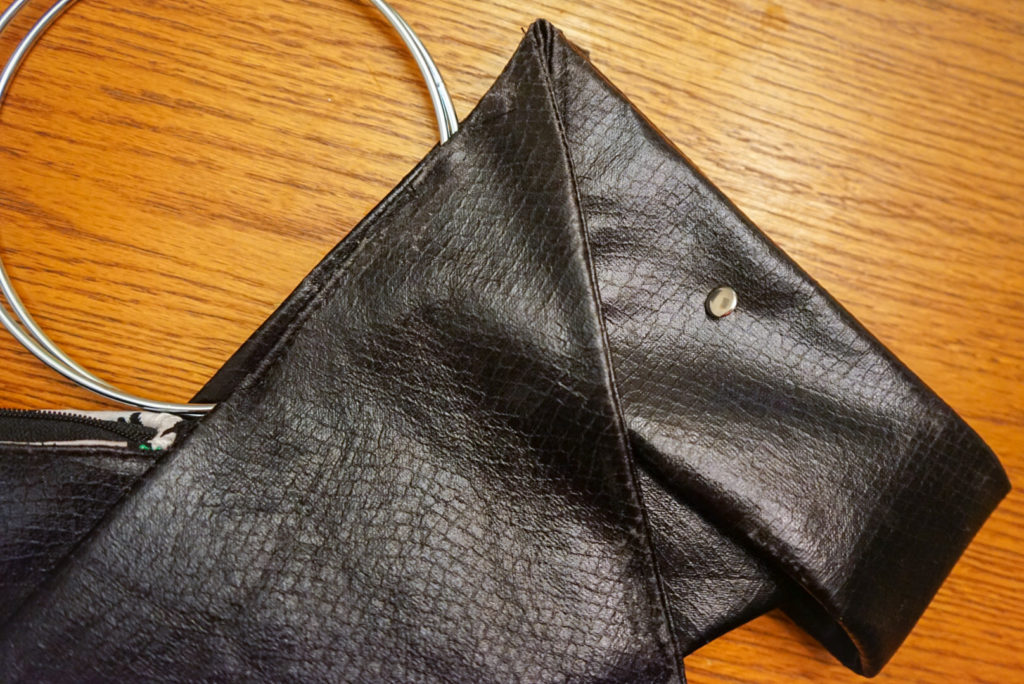
Finished the lining and added a rivet for the eyes.

This project was taking so long, Zo got impatient.
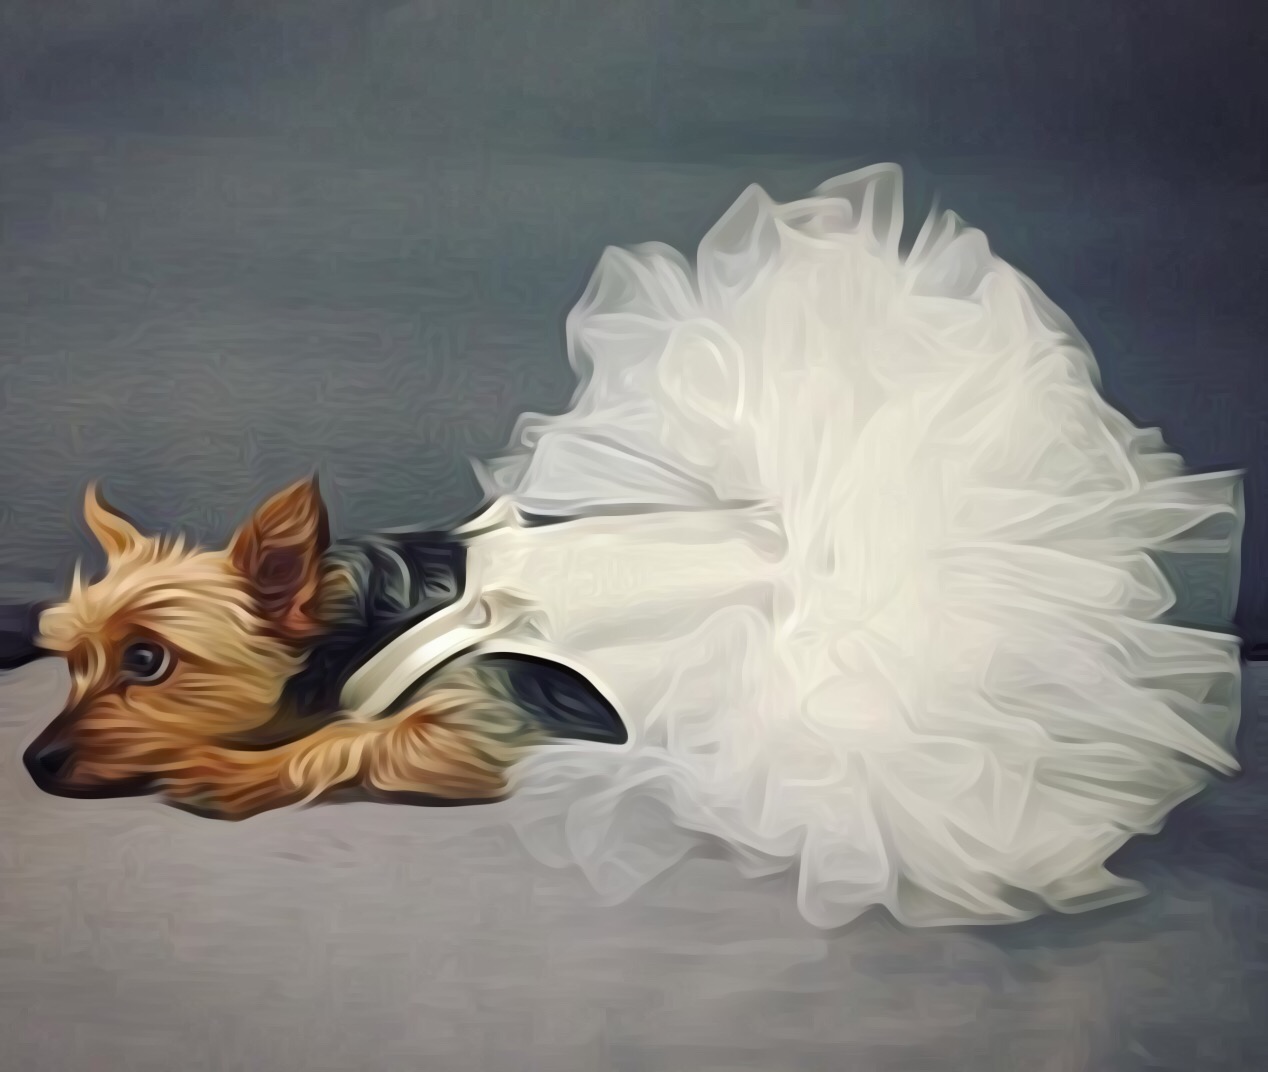
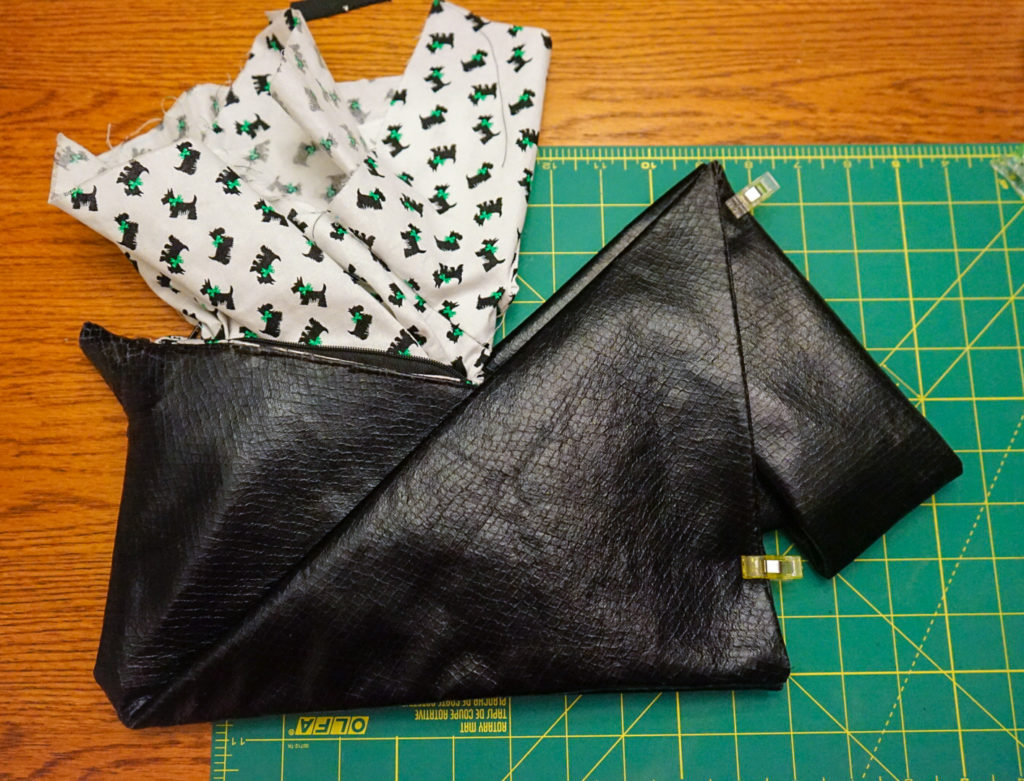
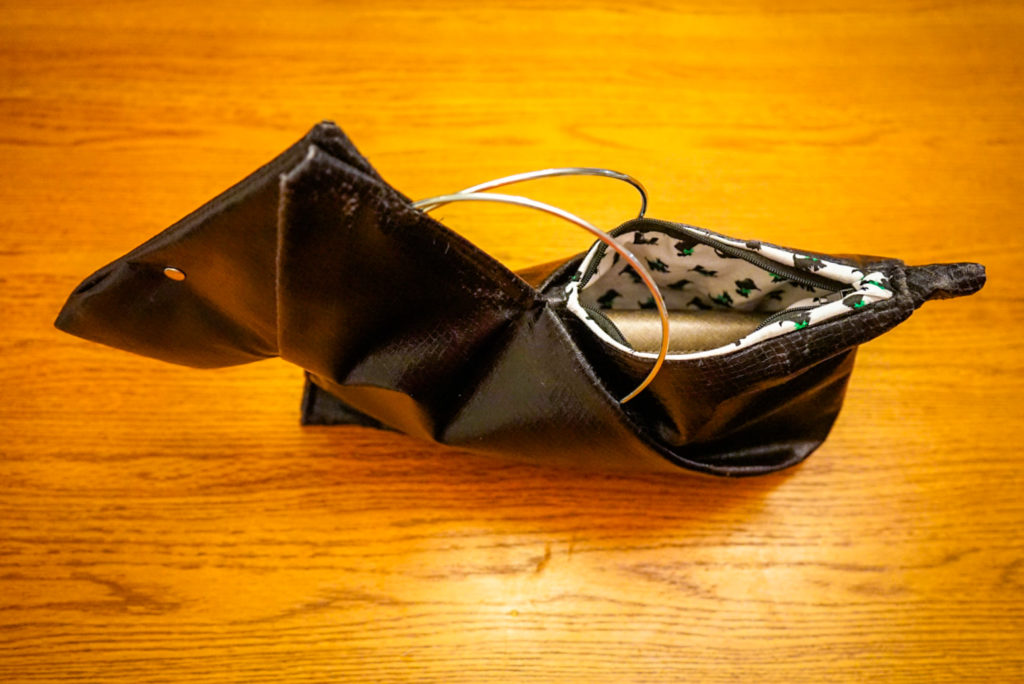
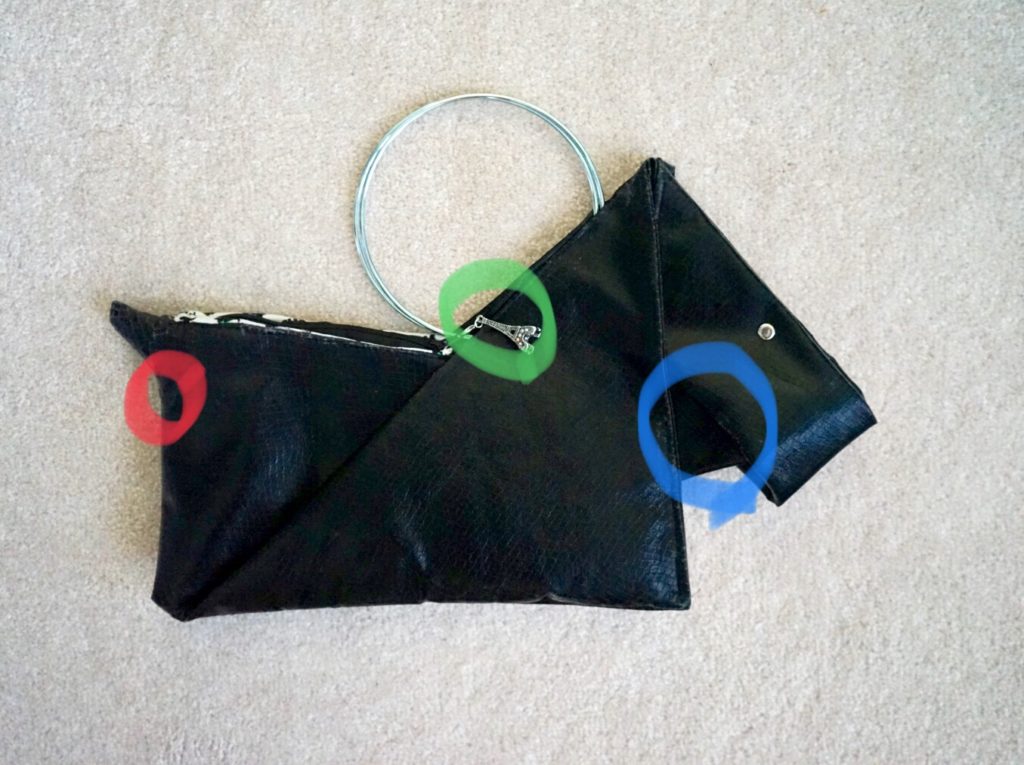
Finished bag:
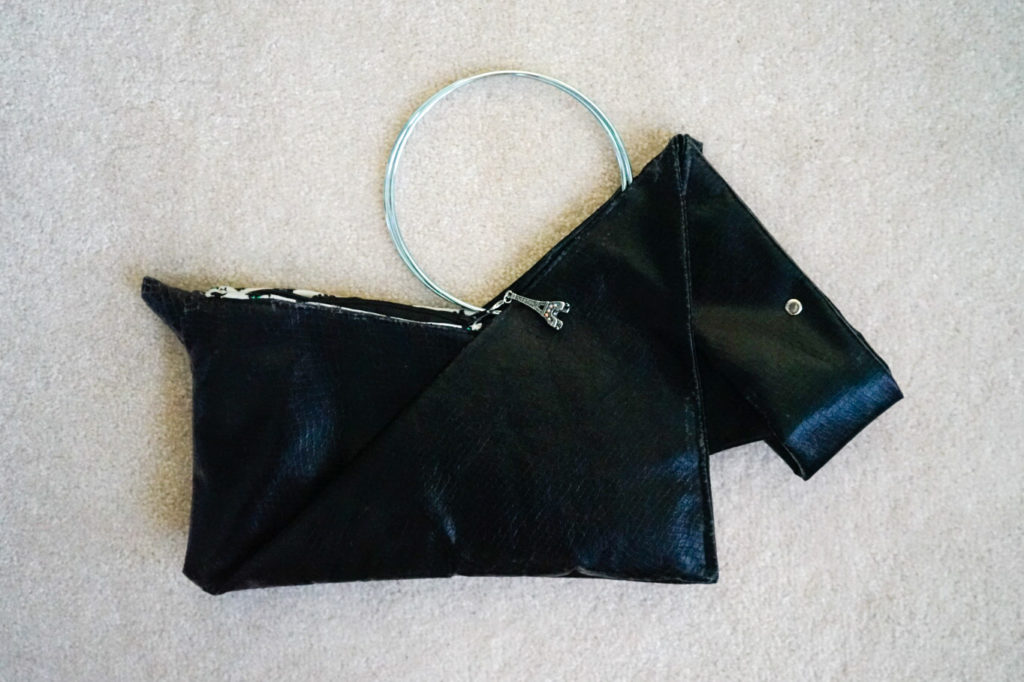
It is about 17” from tail to snout and 10 inches top of the head to bottom leg.
The area with the lining is about 10” by 6”.
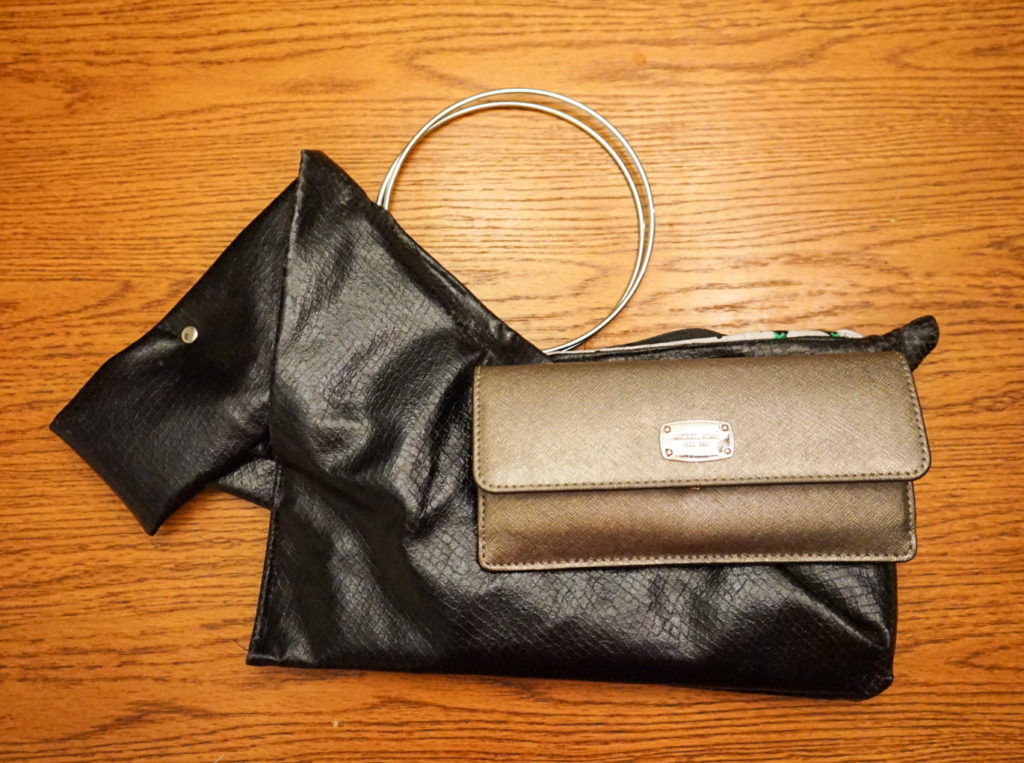
My wallet on top of the bag – the wallet is slightly longer than the zipper so it isn’t easy to get it in and out.
Need to sew the section between the eye and the top of the head. When carrying the bag around, the weight distribution can make the forehead sag/ bow outward to the side.
The tail is cute but may look better had it not been sewn?
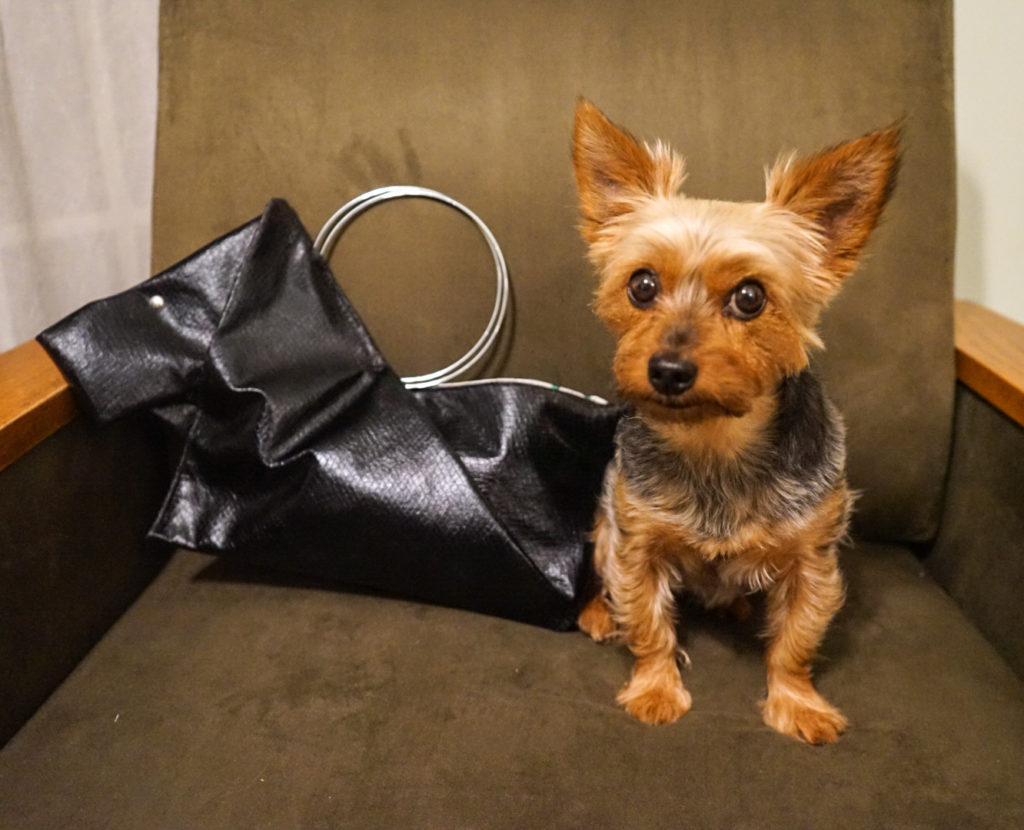
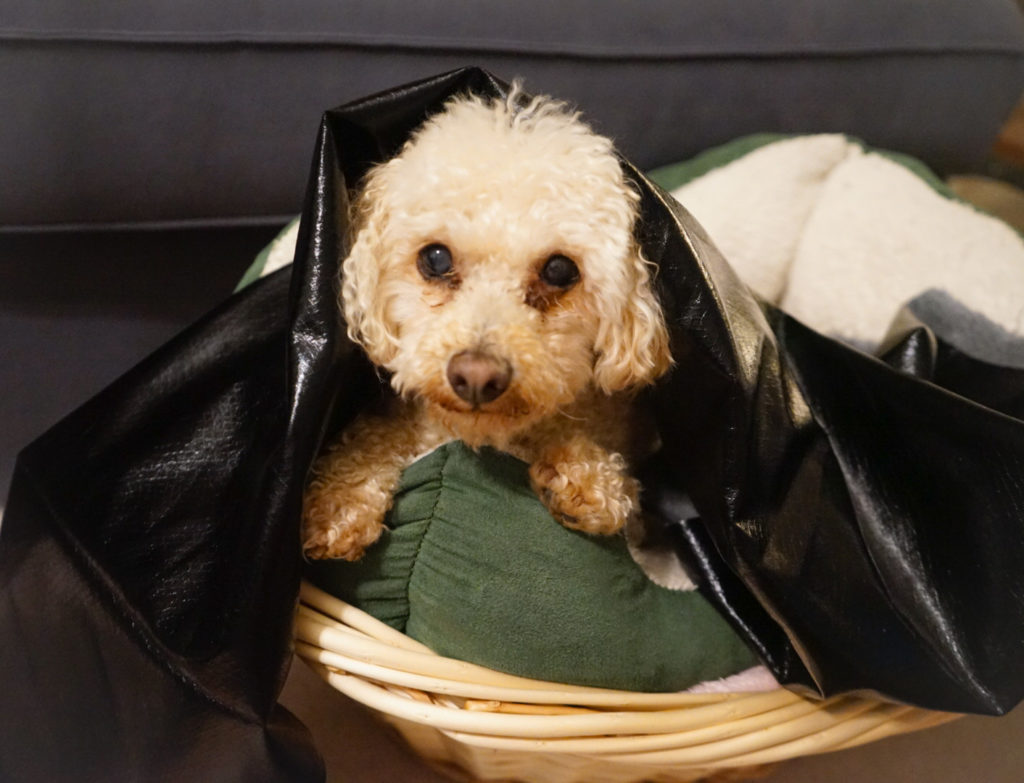
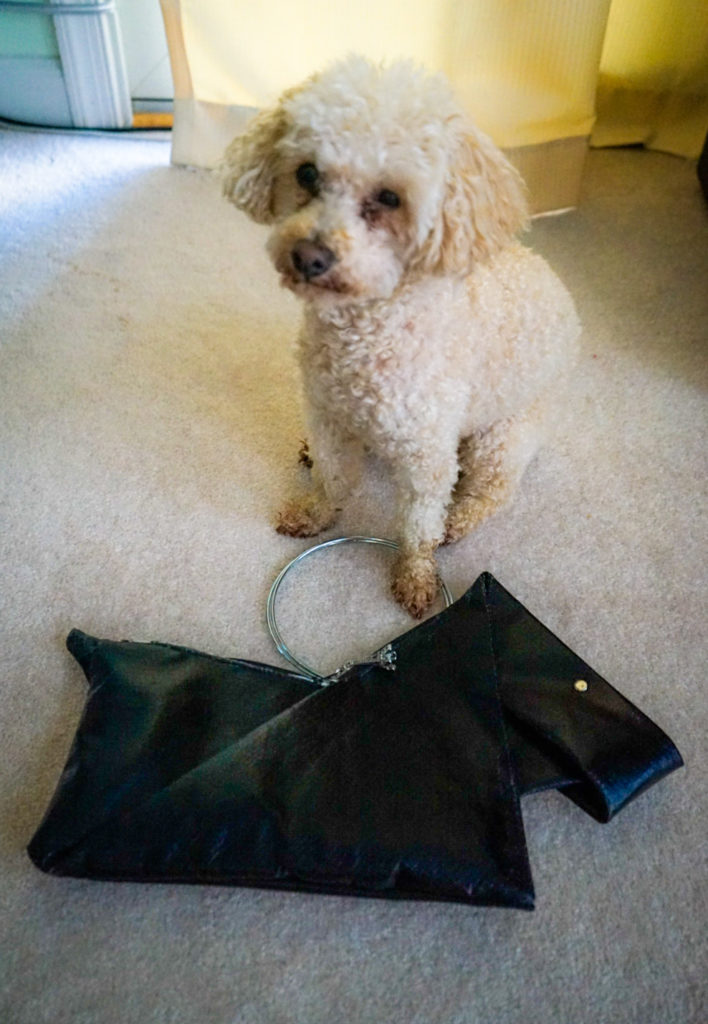
Co thought it was cute.
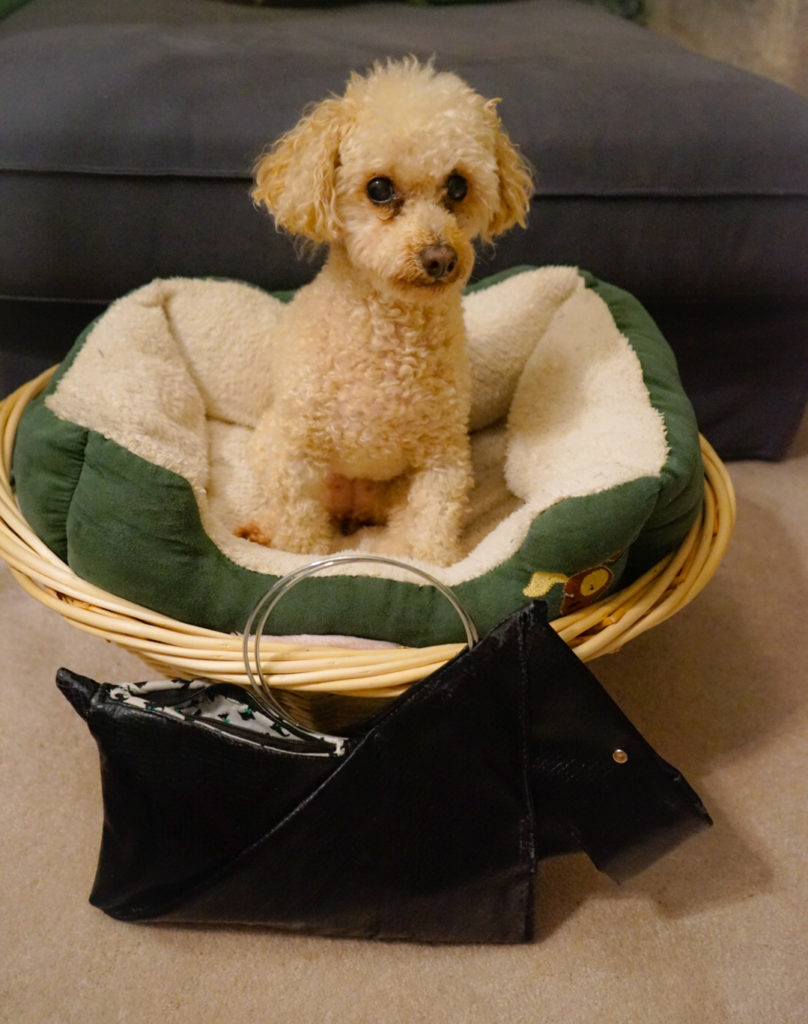
Had to examine her label.
It is almost the same size as Zo and Co?
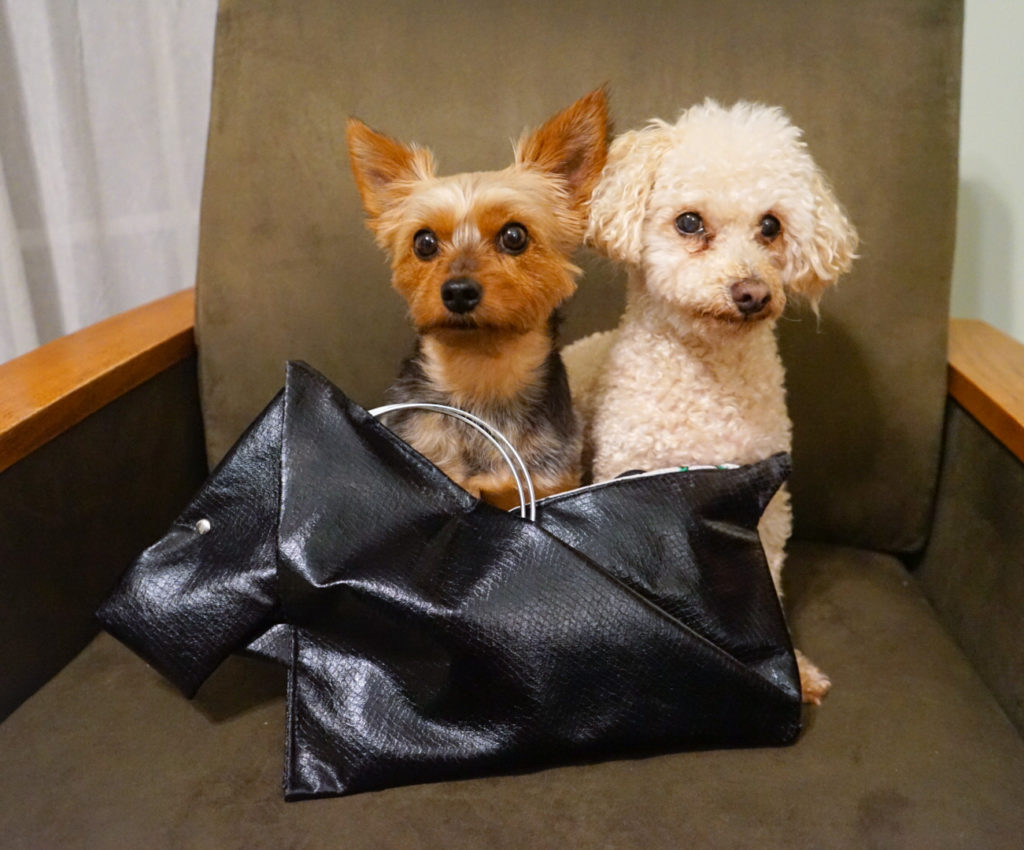
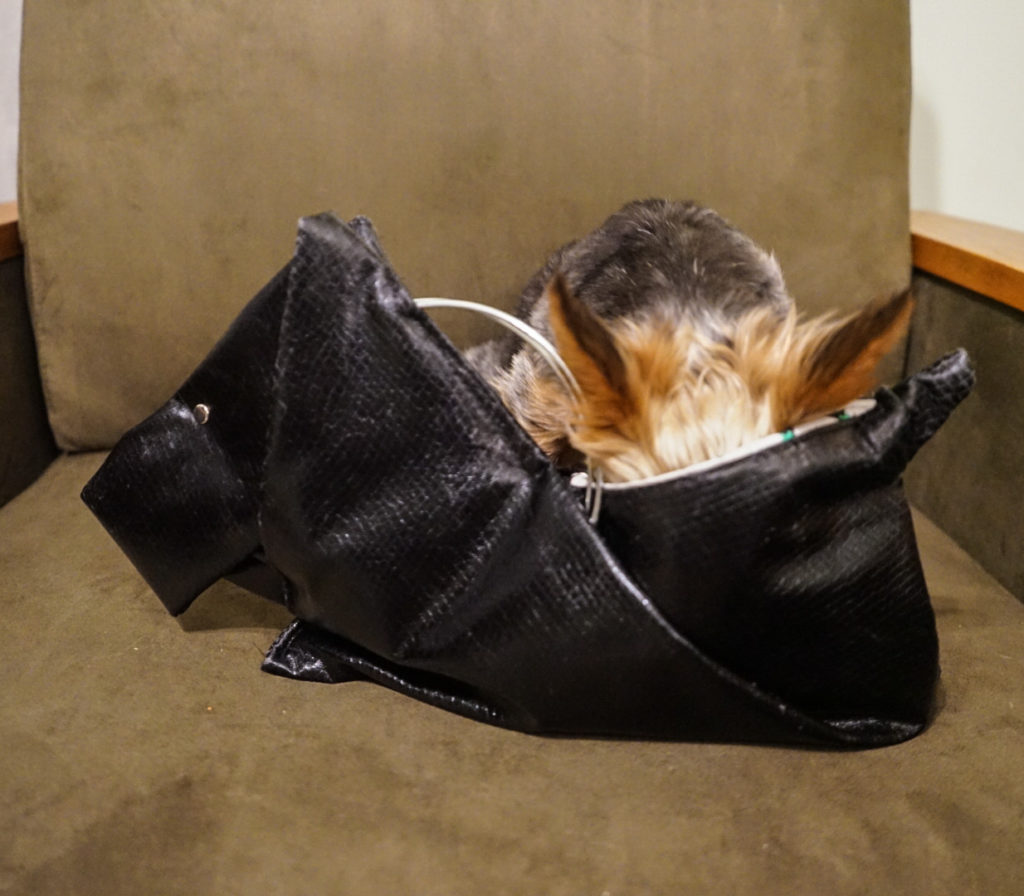
They were both thinking it was a new snack bag.
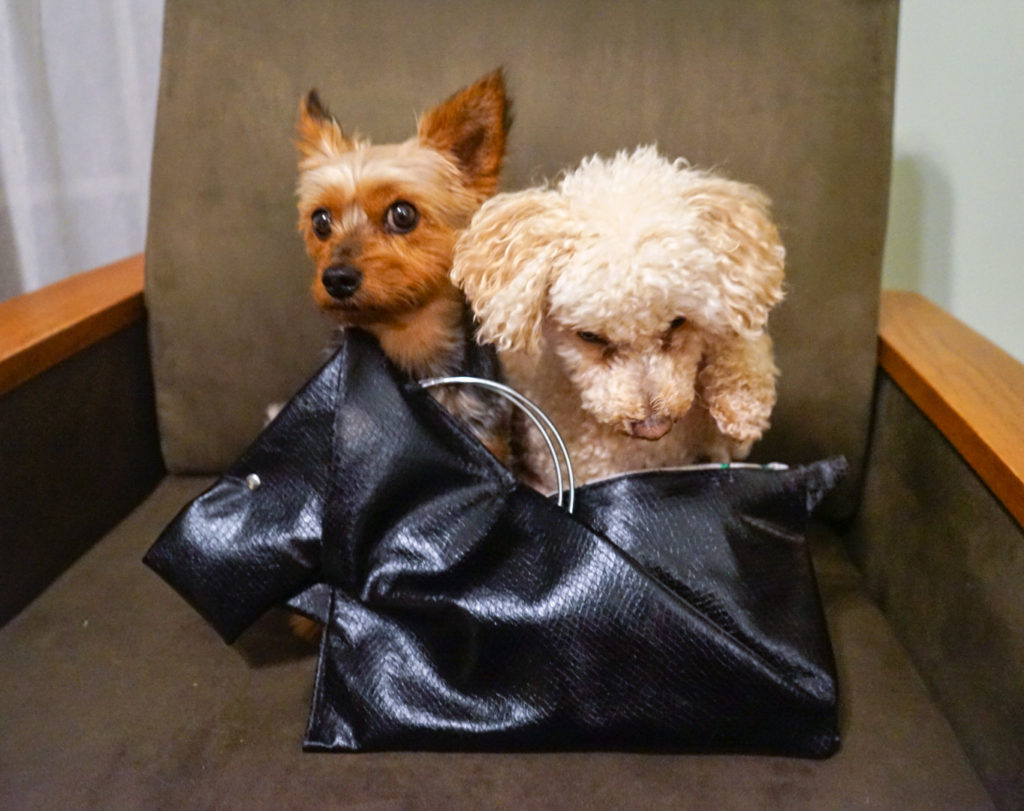
It is not.
In conclusion… This took about 6 episodes of Dateline from start to finish (OnDemand is v. useful). Kept getting confused as to how the head should look. And sewing the lining wrong. And refolding the dog. And so many other things. The worst part is how short the zipper is – the iPad mini doesn’t fit.
Next time (if there is one):
- sew the bum area starting under the tail – red circle.
- stop the handle stitching higher on the ear – green circle – so can install a longer zip.
- Start with as close to a square as possible so the dog doesn’t have a waddle/ double chin – blue circle. Because there was some extra fabric from forcing some of the seams to meet, bunched it up in the snout area.
And while the thinness of fabric is ideal for folding, it easily scratches and flakes from the sewing machine and scotch tape.
BUT IT IS CUTE! So prob worth it in the end.
Co is ready to take it out.
Next time, making something big enough with a crossbody strap and requiring less time.