Was invited to a wedding and wanted to make a pretty floral bag. Have been intrigued by this design; https://www.simonmillerusa.com/shop/bags/s801-bonsai/s801-bonsai-6494
So decided to make a round bucket bag with a drawstring liner (so things don’t fall out)
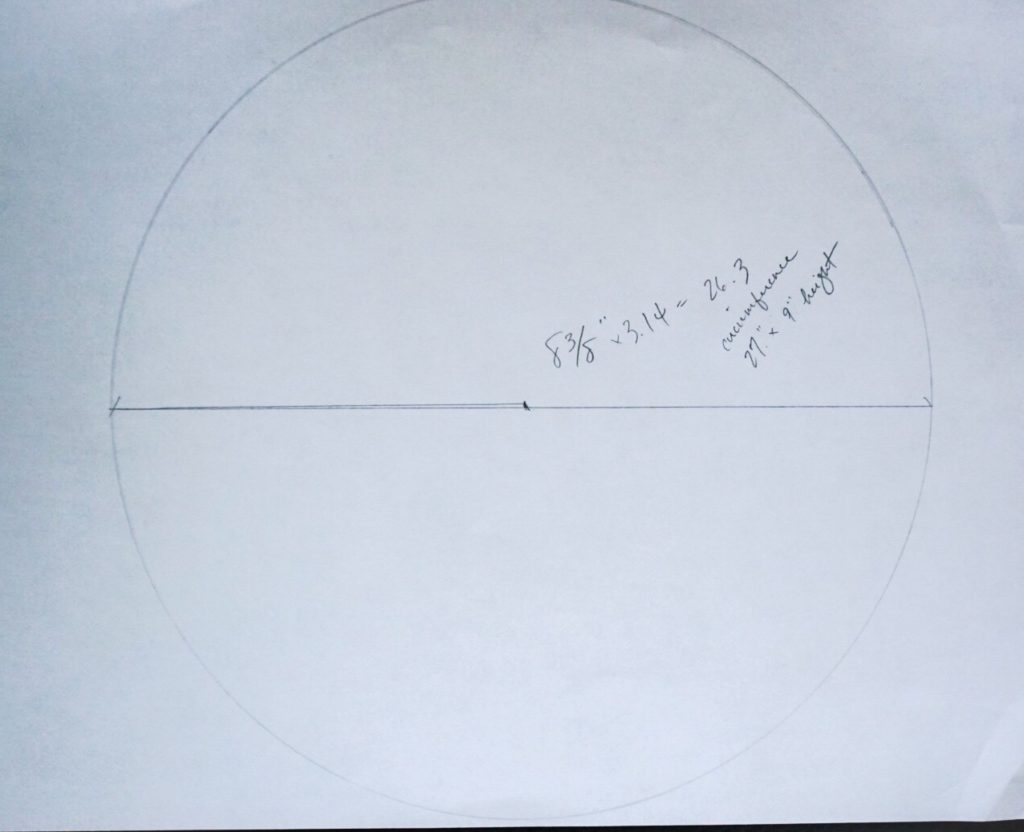
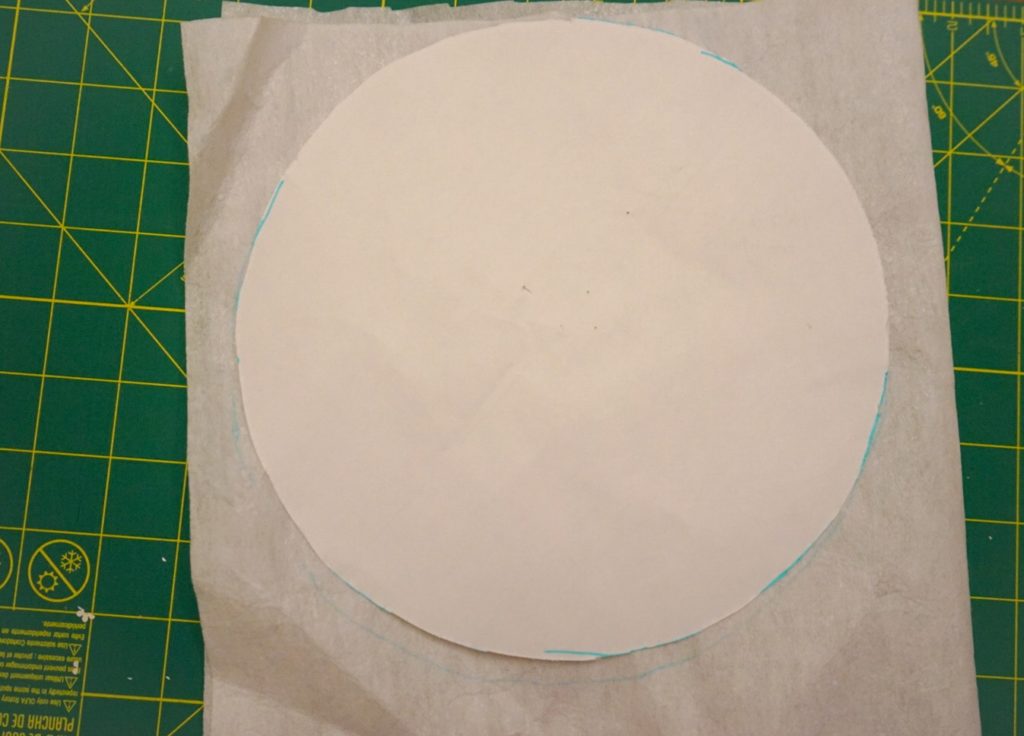
The pattern (which is just a circle):
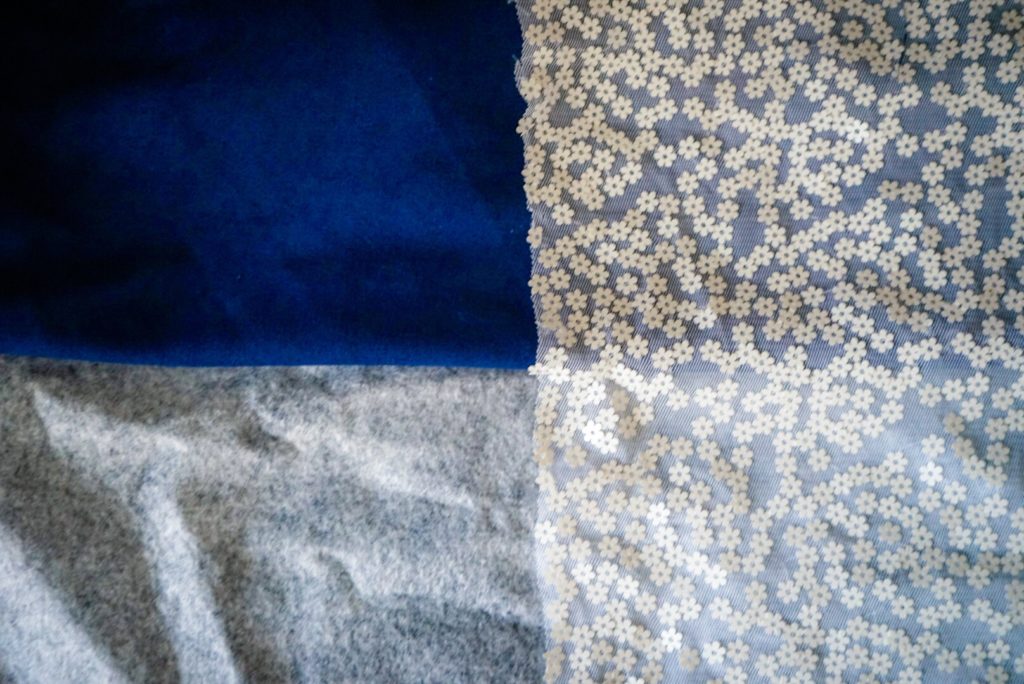
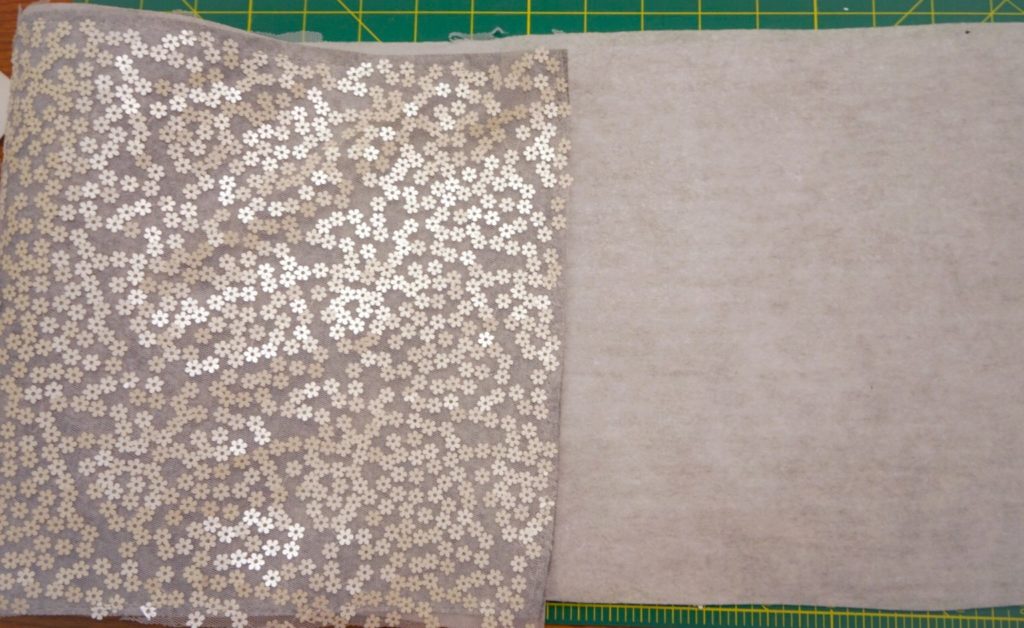
Materials:
- Grey wool/ poly blend felt
- Navy faux suede
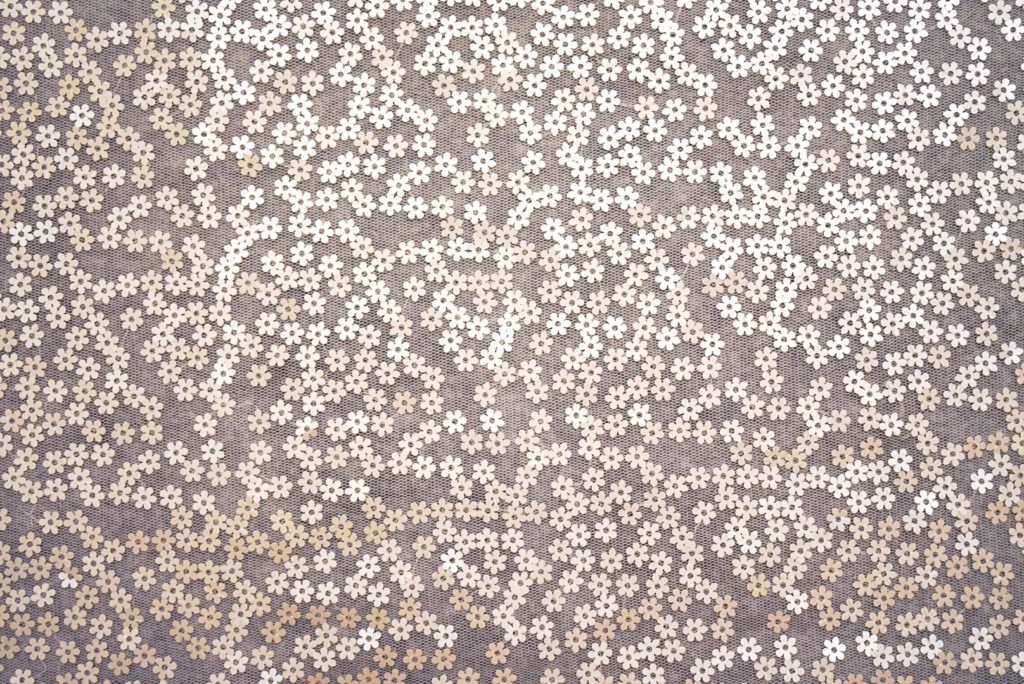
- Floral mesh
- Interfacing
Originally wanted to use a bright/ bold fabric (maybe red) under the floral mesh but it looked too muted.
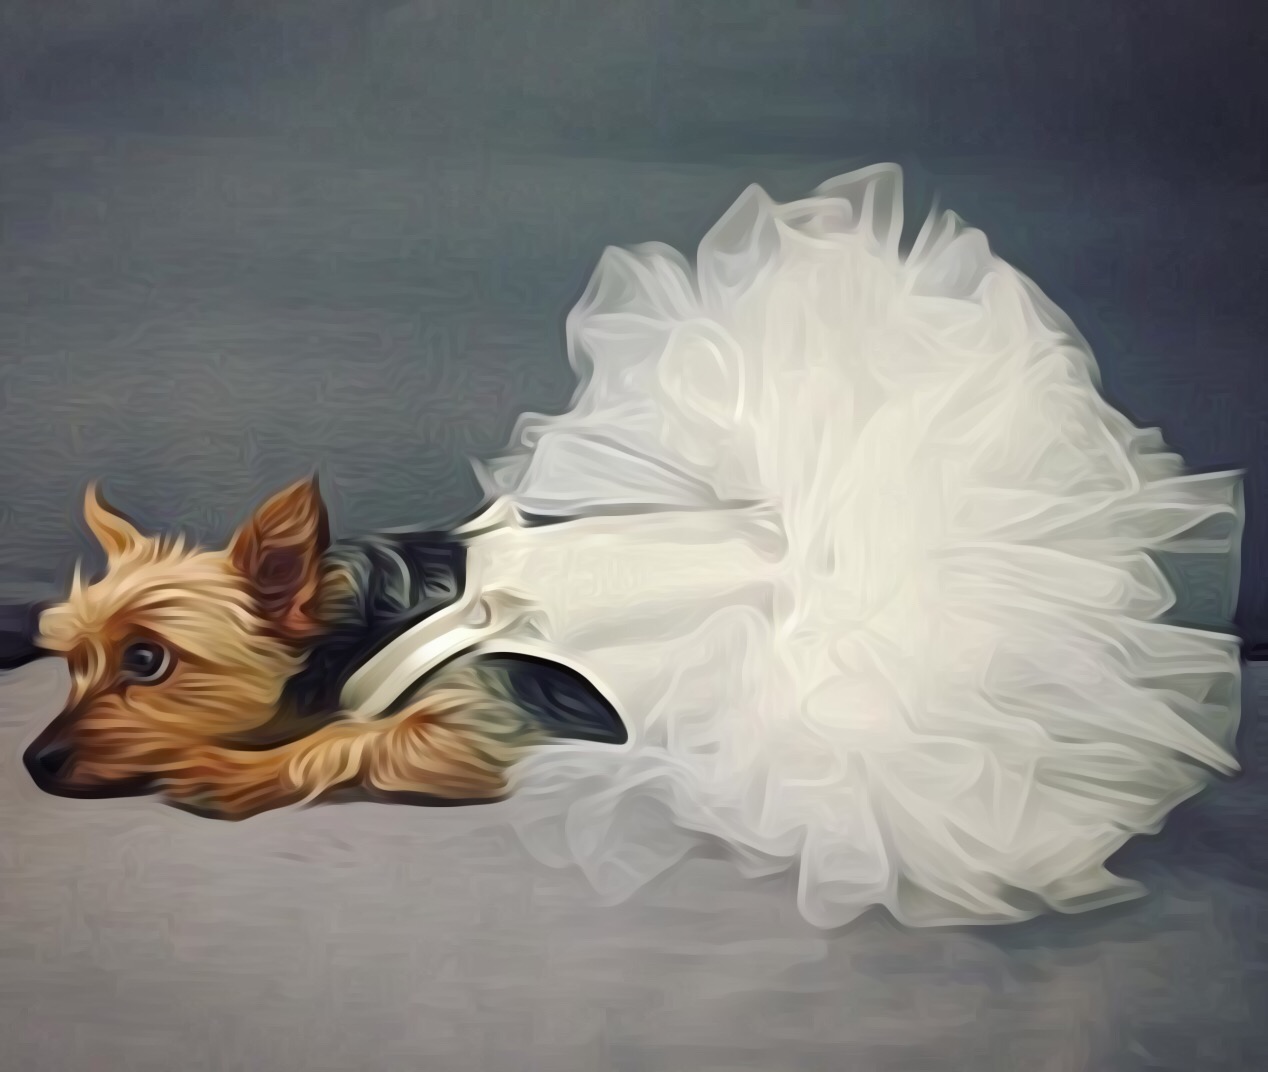
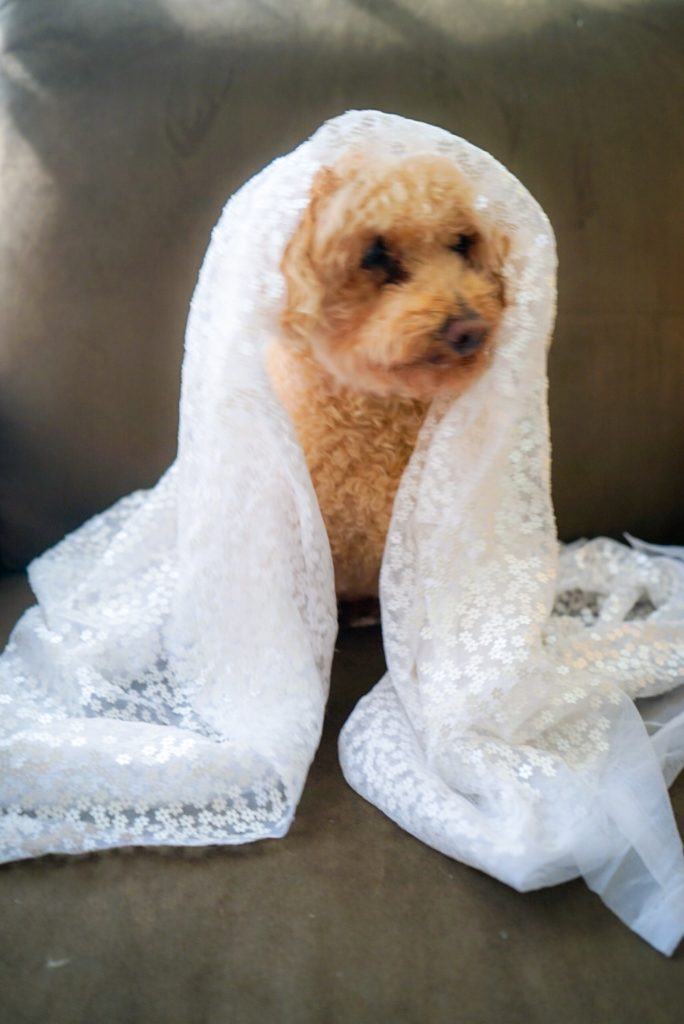
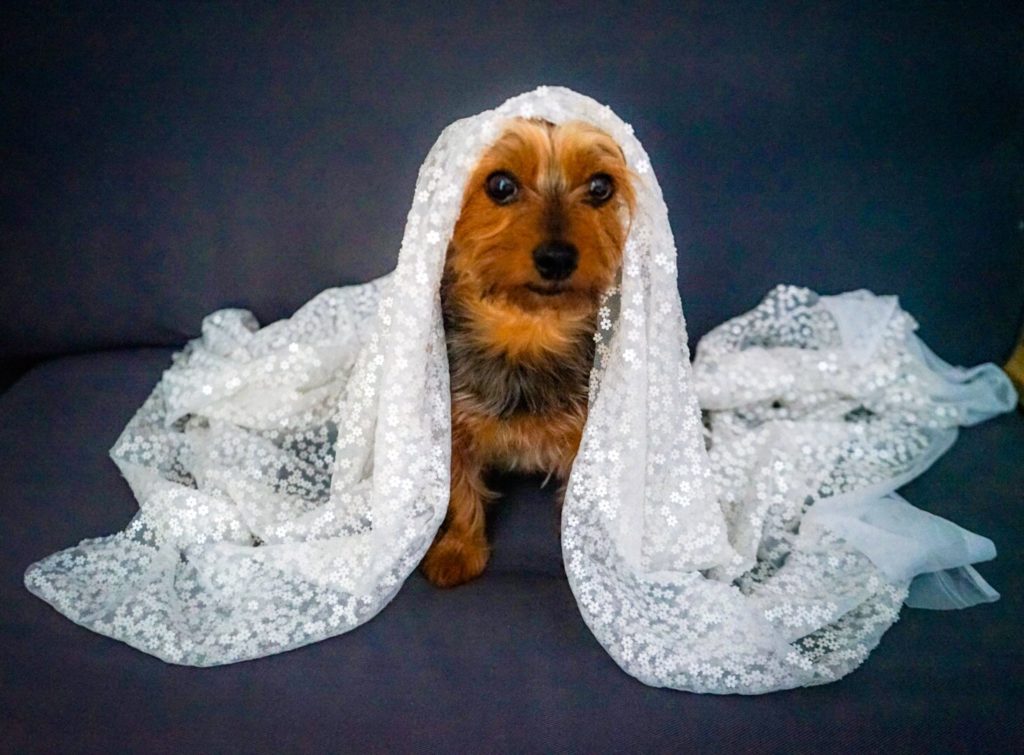
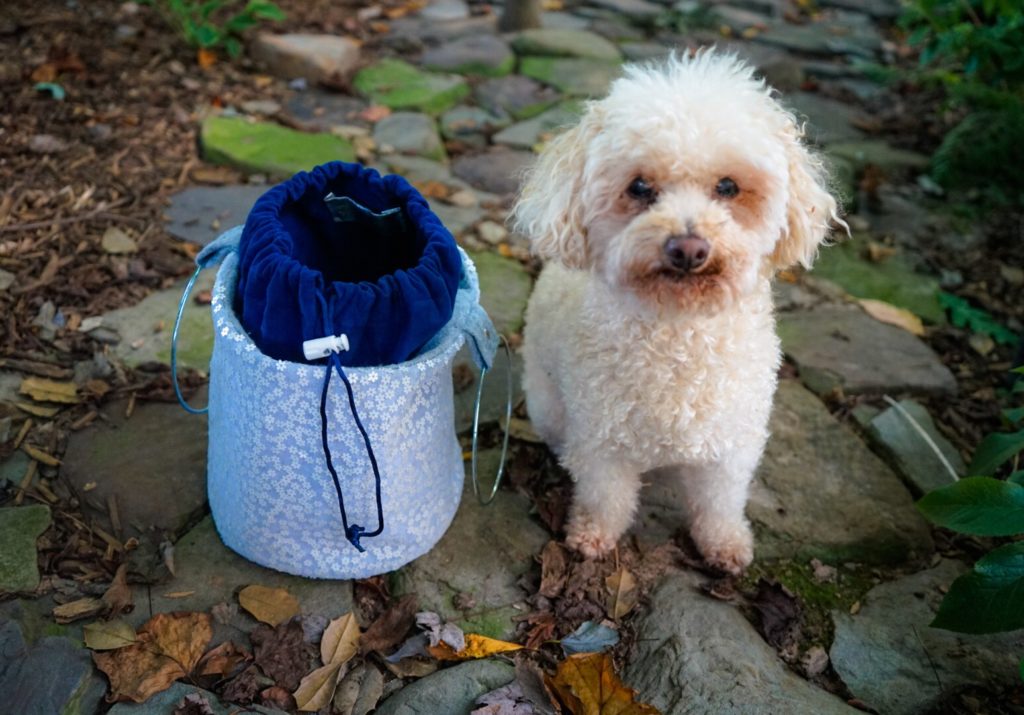
Zo and Co looked rather bridal.
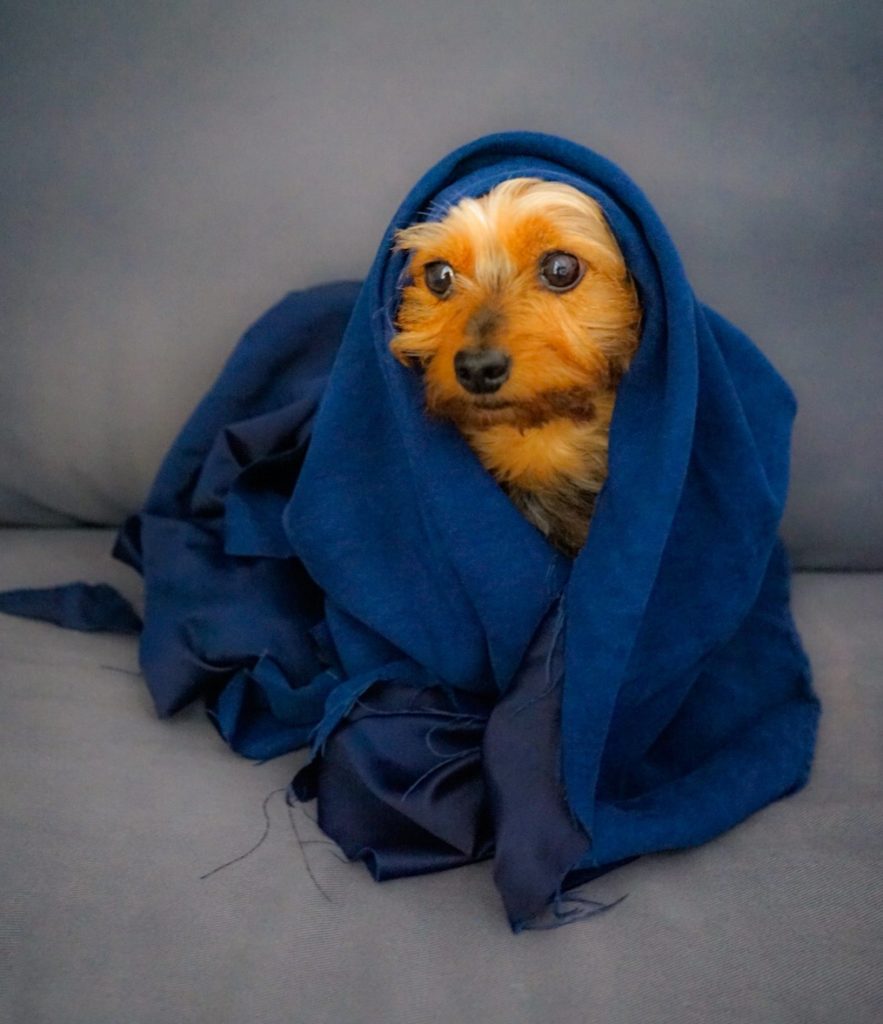
Love the blue on Zo.
Cut out:
- 3 felt circles, diameter of 8 3/4”
- 2 felt rectangles, 9” by 28”
- 1 overlay, 9’ by 28”
Top stitched the overlay to the a felt rectangle.
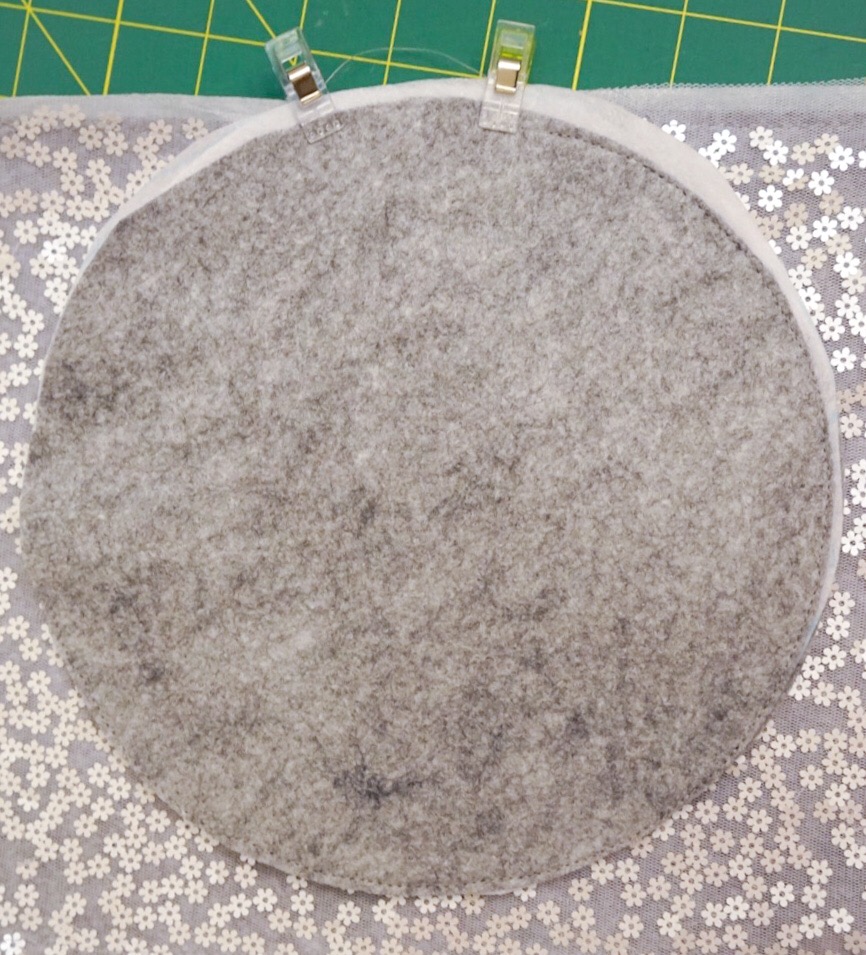
Cut and ironed interfacing to the rectangle and 2 of the felt circles.
Sewed the 2 circles with the interfacing together. With 2 layers of felt and interfacing, hoping it is stiff enough to be a solid base.
Sewed the circle to the rectangle, outer sides together. Also sewed the rectangle sides together.
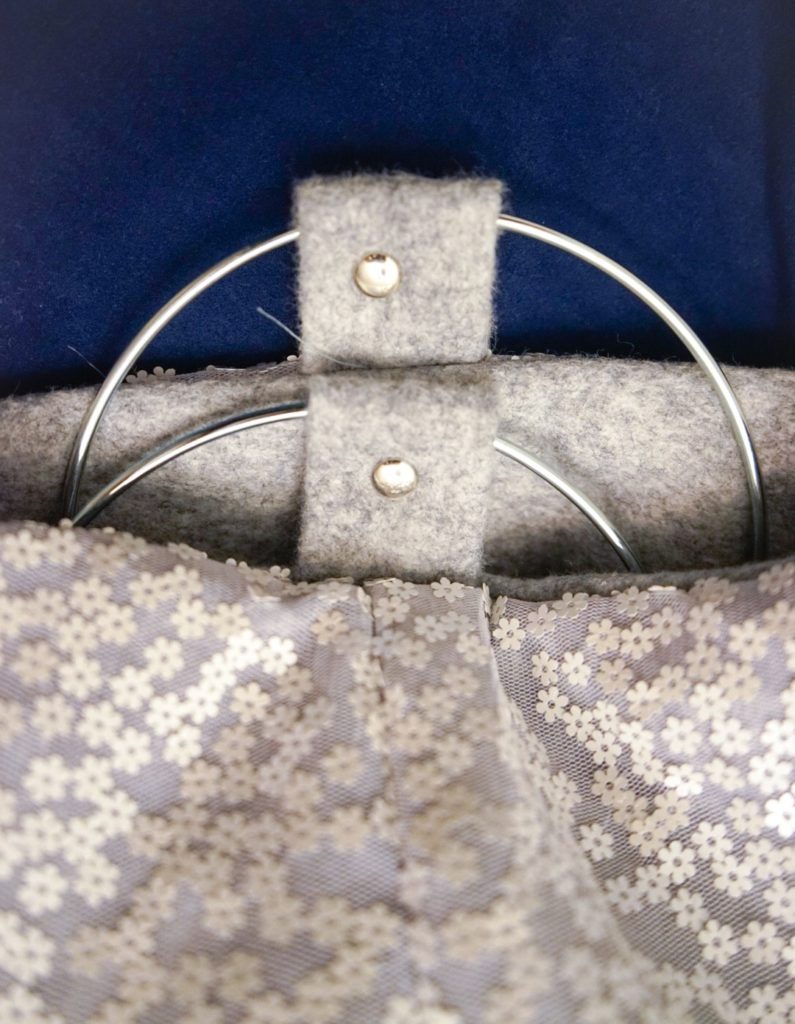
Cut 2 strips of grey felt, 3” by 4” for the handles and basted to the sides.
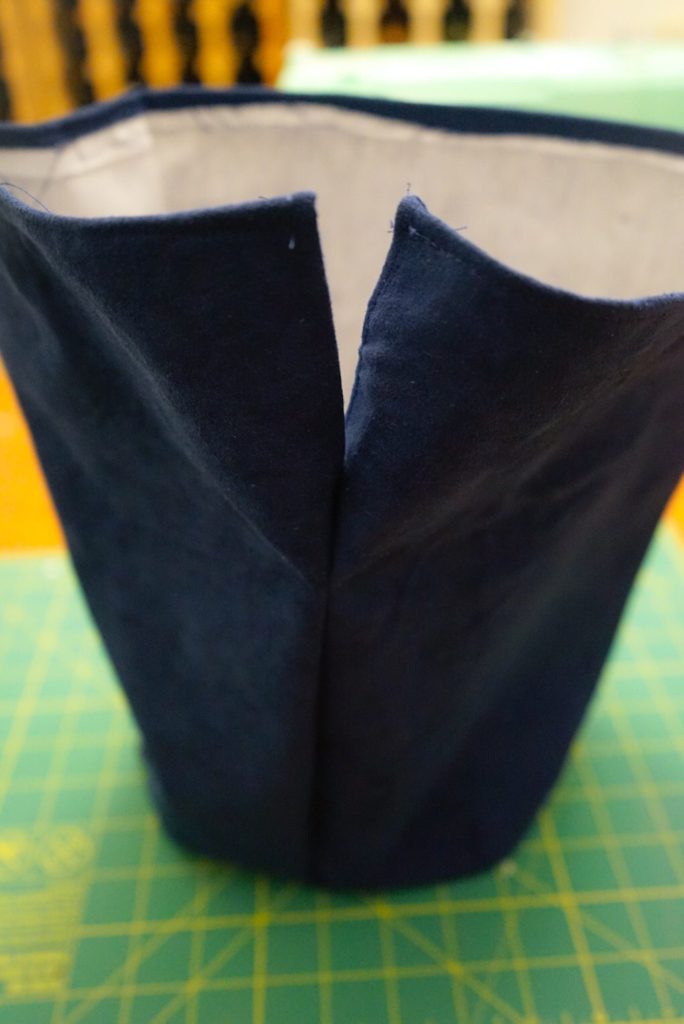
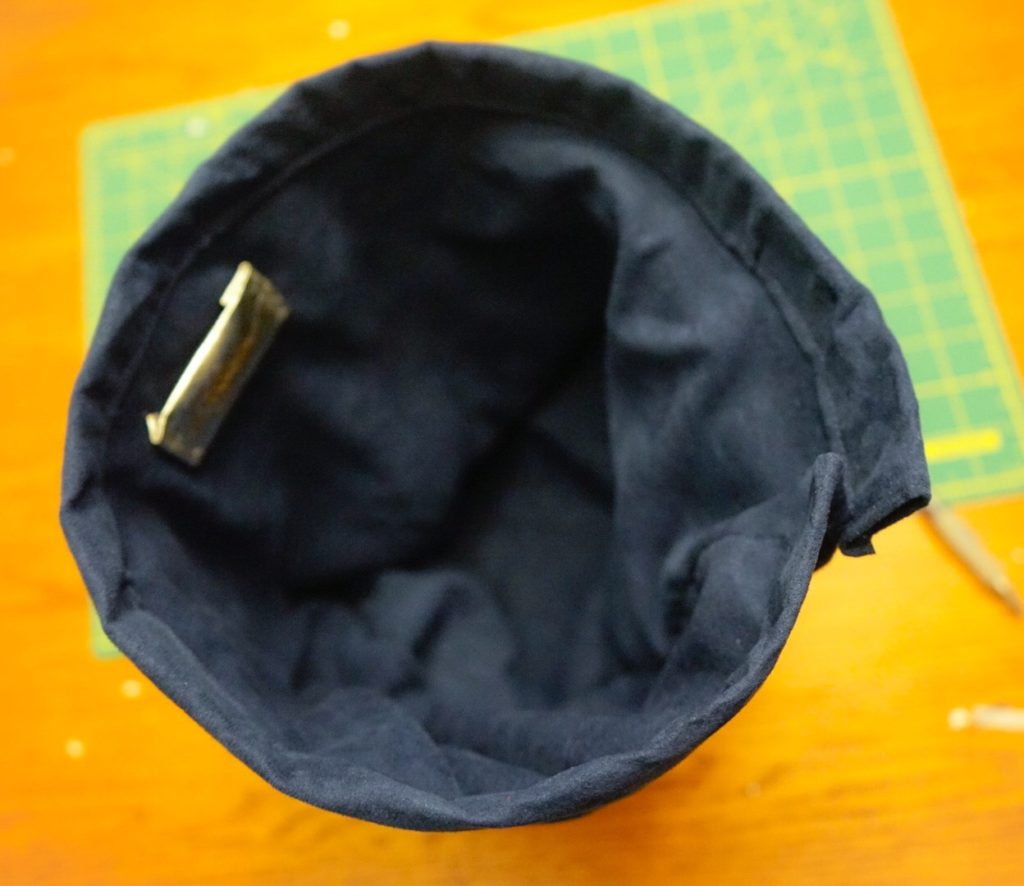
Sewed the remaining circle and rectangle, outer sides together for the lining. Left most of the rectangle’s sides unsewn so it could be used to flip the back right side out.
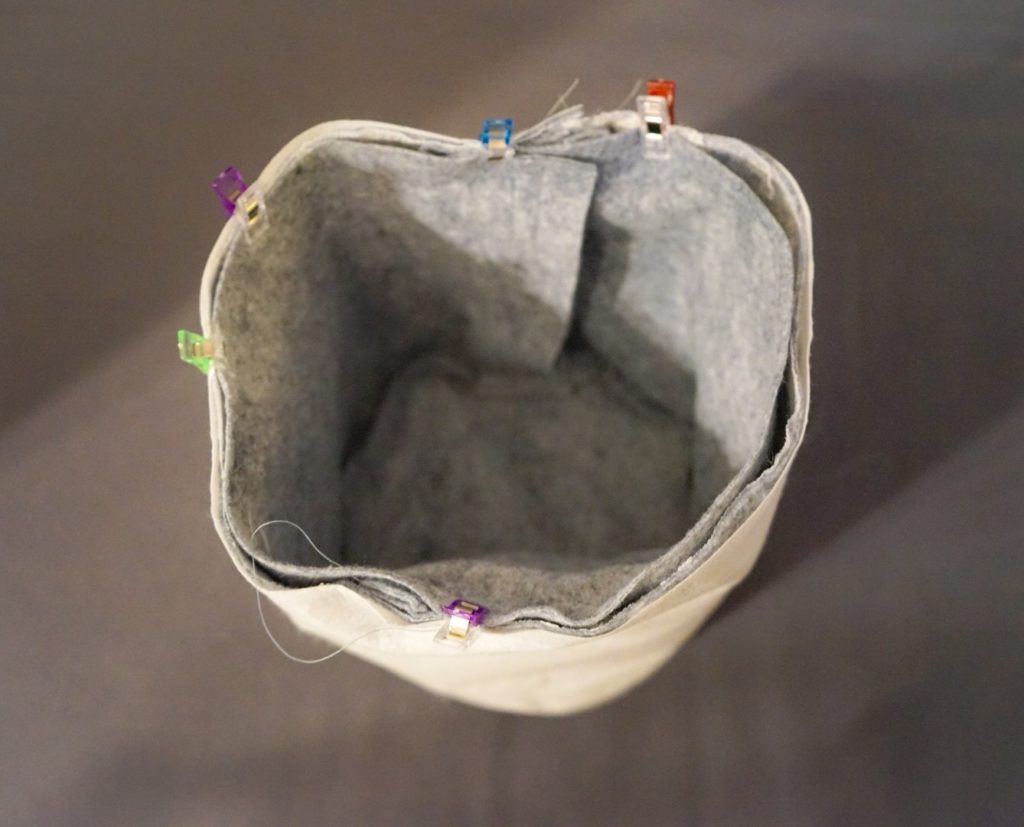
Attached the lining and the outer piece, outsides facing. When sewing through layers of felt and interfacing (especially the sections with the handle straps), broke 2 titanium needles. After switching to a 90 14 from an 80 11, was a bit easier.
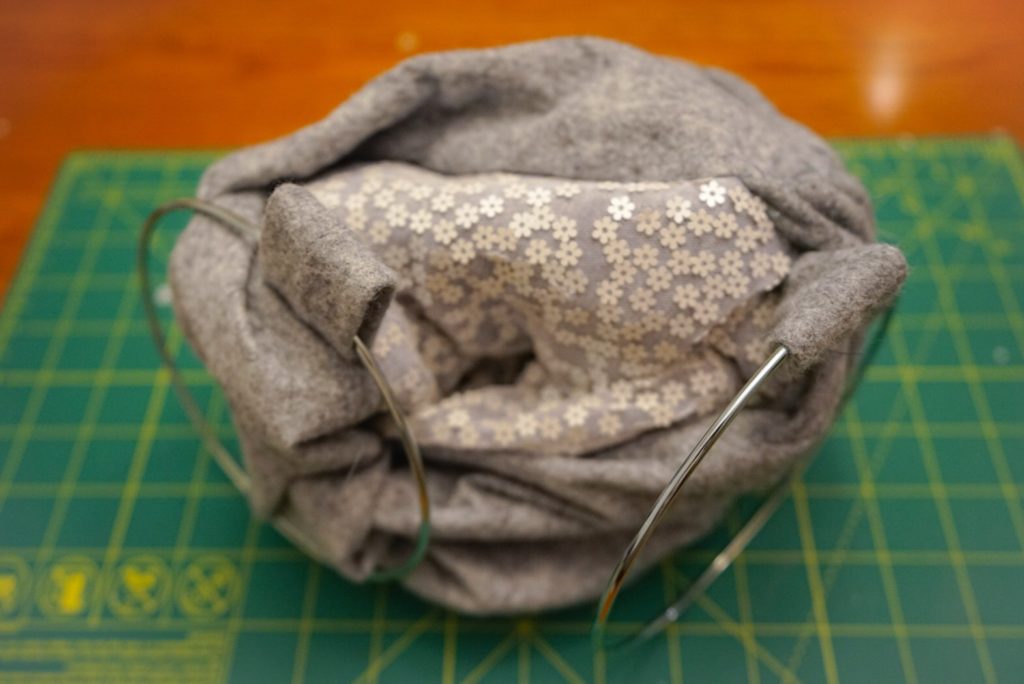
Flipped the bag right side out. Making sure there was enough room to get the handles out was the most difficult part.
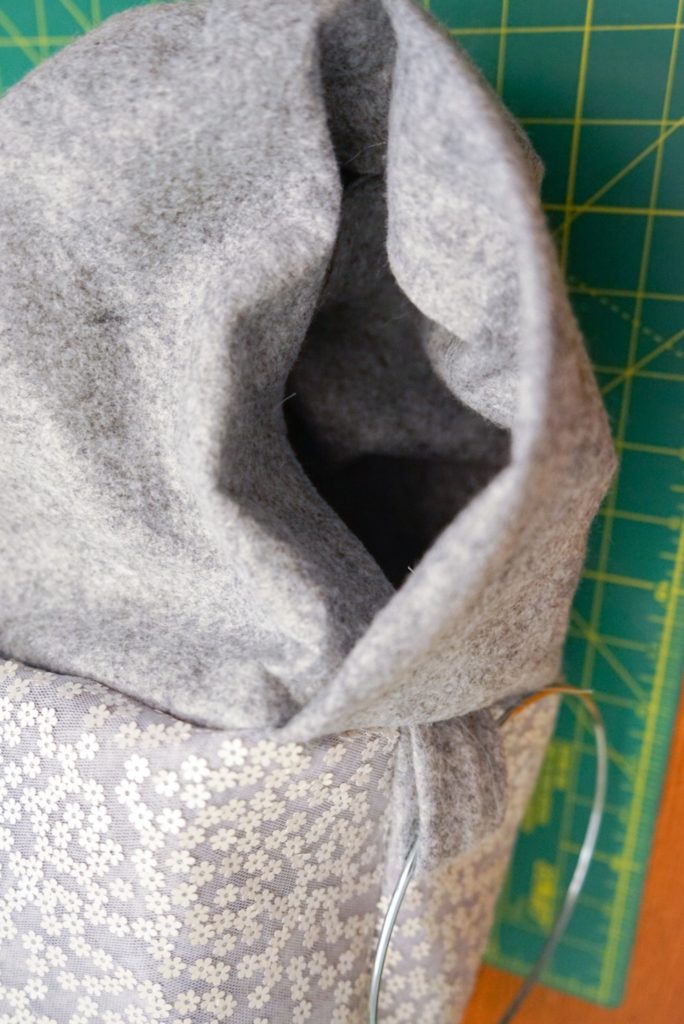
Sewed the hole used for flipping closed.
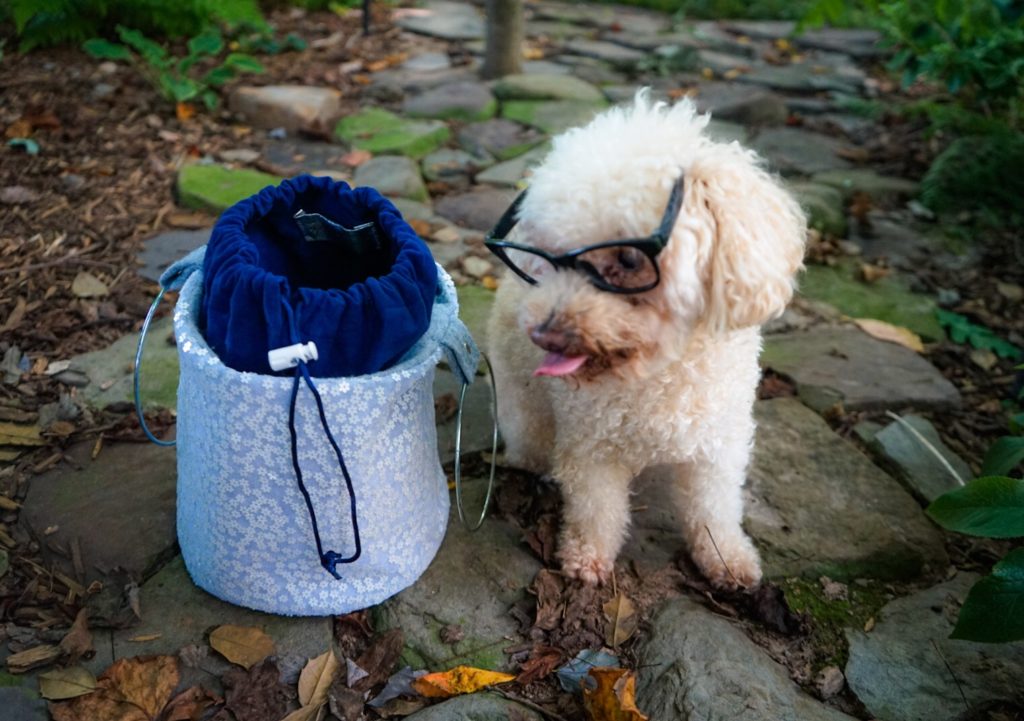
Zo was wondering if it was done yet.
For the lining, cut out 2 8” circles, a 8” by 26” rectangle, and a 12” by 26” rectabgle.
Ironed interfacing on one of the circles and the 12” by 26” rectangle.
Folded over all of the edges on the larger rectangle and top stitched.
Sewed the larger rectangle to the circle, outer sides together.
No matter what, always end up with holes… So had to reset a couple of times.
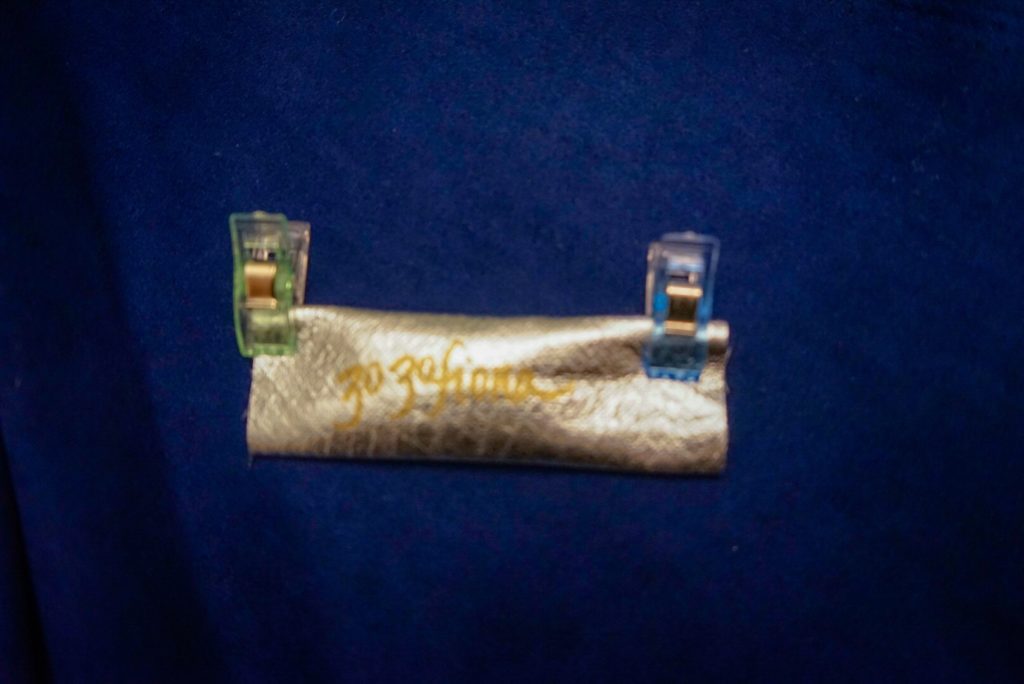
Added a zozofiona label to the lining.
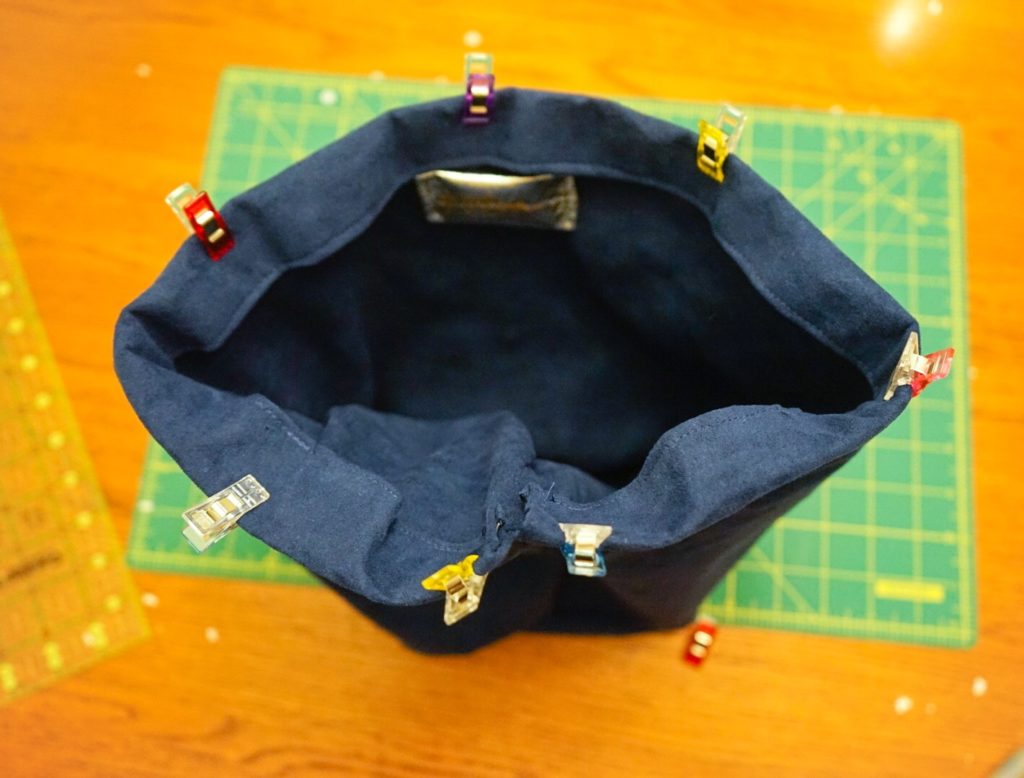
Sewed the sides together, leaving a about a 2.5” gap at the top for the drawstring.
Sewed the smaller rectangle to the remaining circle, outsides together.
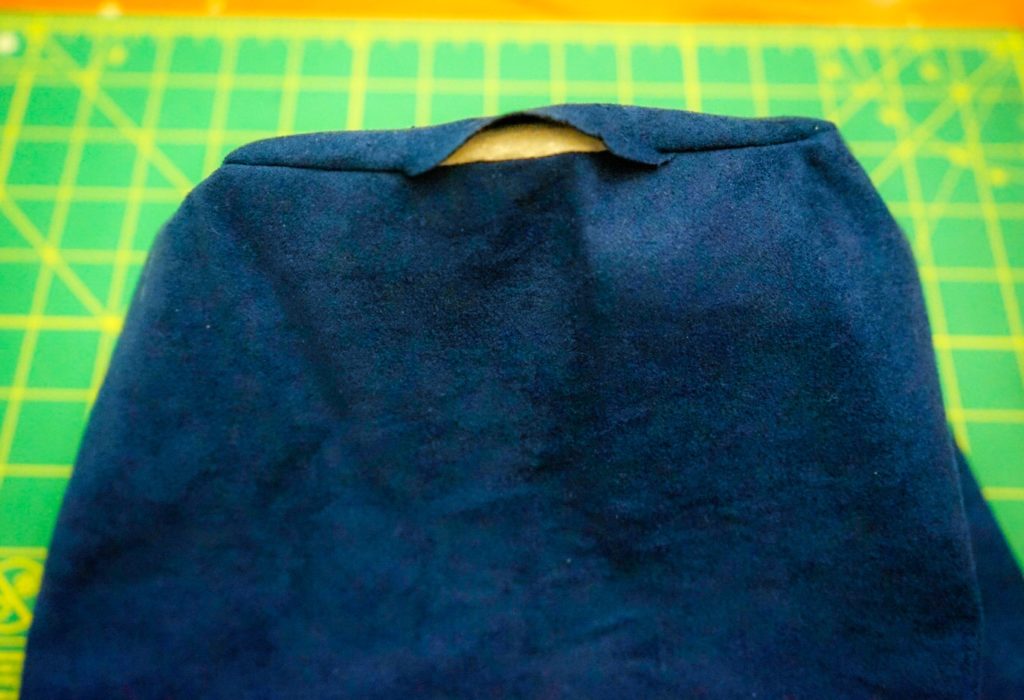
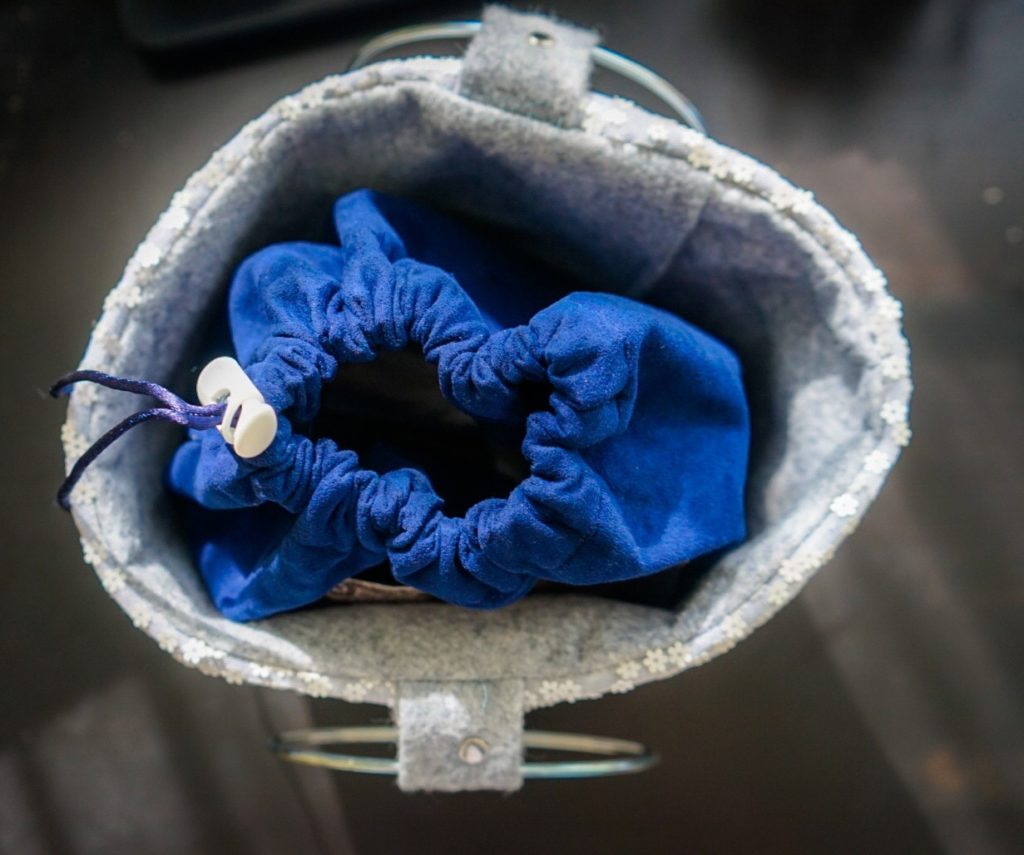
Folded the top over to make a casing and slid the lining under the fold.
Top stitched.
With the interfacing on the entire piece of the 12” by 26” fabric, can see a little bit of it in the casing. Grrrrr.
Added a drawstring and stopper.
Things that need improvement:
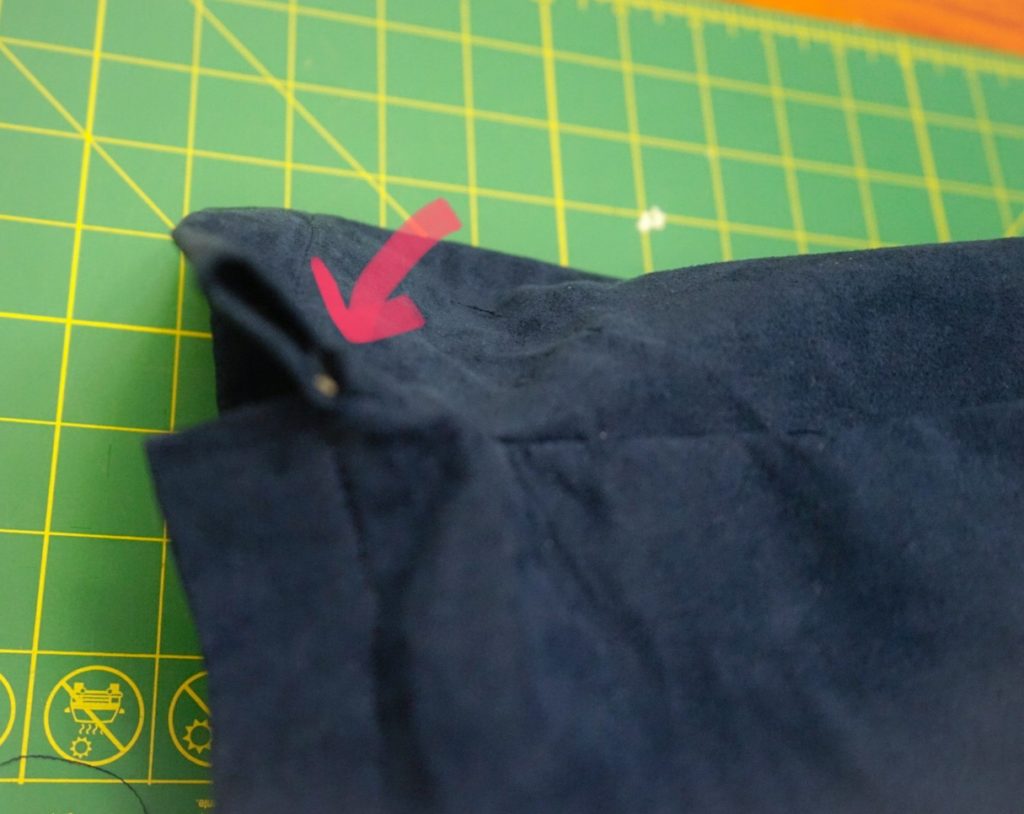
- The interior of the grey bag’s seam doesn’t meet the exterior’s seam (where the handle tab is). They had originally met but for some reason, the circumference of the interior ended up smaller so had to let it out a bit.
- One of the handle tabs needed to be further into the bag (would be more secure if there was more length inside of the bag)
- One of the rivets is off center.
- The interior bag could use a lighter interfacing or not have it at the top (where the drawstring is inserted into the casing). Because of the stiffness, it doesn’t close all the way.
(The bottom tab looks longer than the top one)
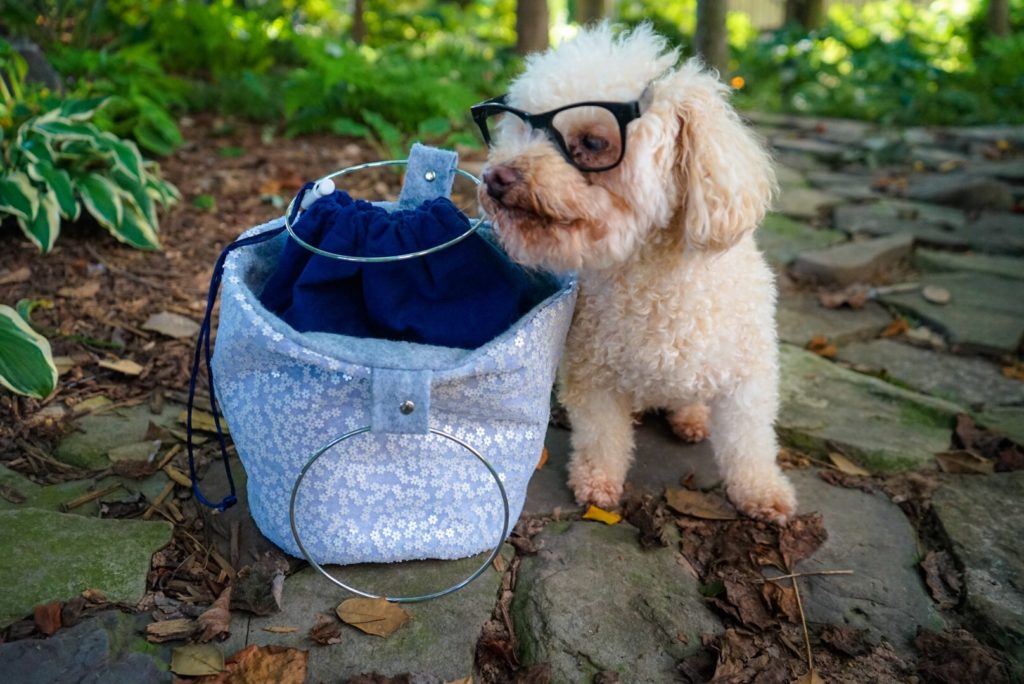
That being said, really like the way this turned out. Was at first worried it was too large, but it fits the essentials (iPad, wallet, phone, tissues, eyes drops, allergy meds, etc.) but is not too bulky despite having a round base.
It isn’t for carrying when wearing clothes made of delicate fabrics like lace because the flowers on the overlay will snag.
Zo is thinking it through – whether she approves of this or not.

She thinks it is okay.

Co is examining the construction.
And looking for treats.
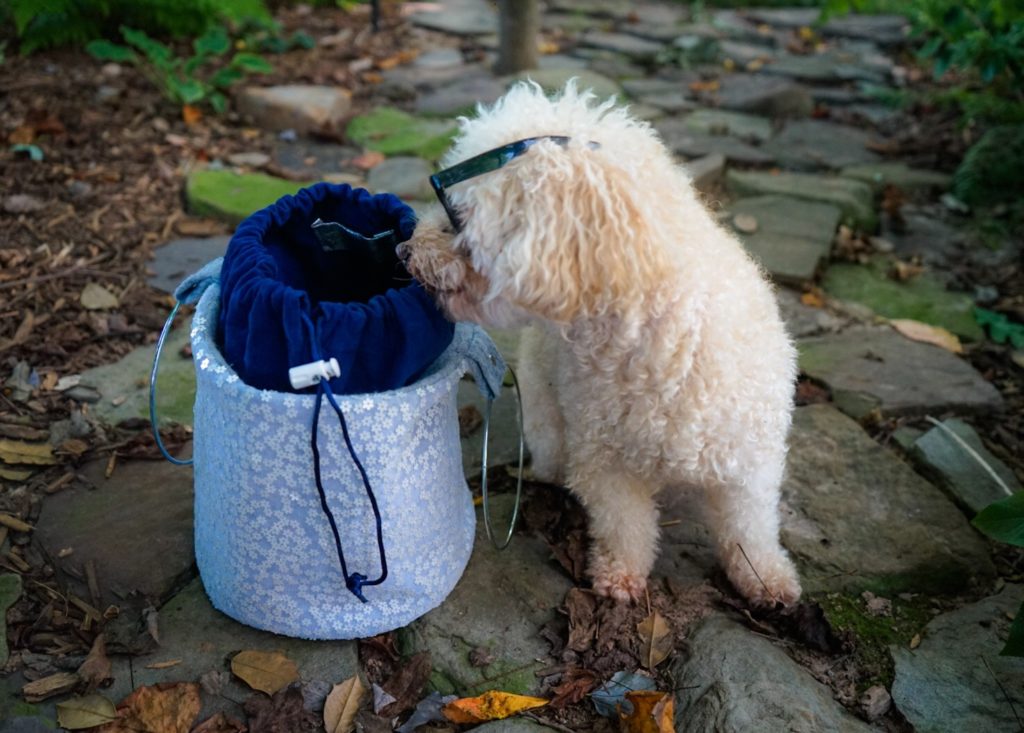
She’s satisfied all were found.
For the wedding gift, bought a gift card to a restaurant the newlyweds like, Chaplin in DC.
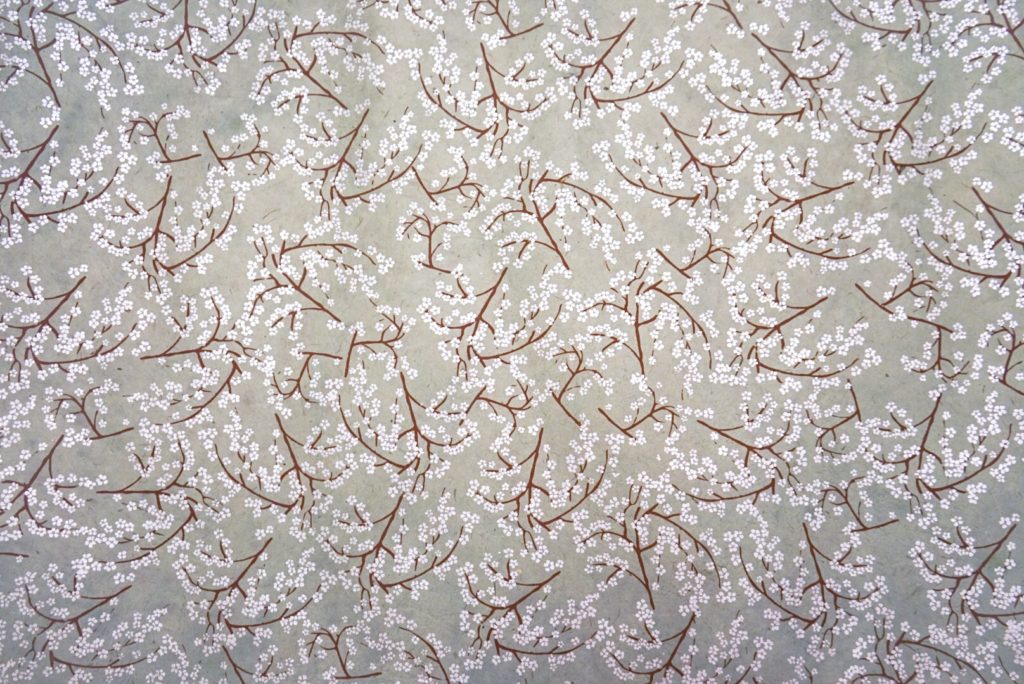
Wrapped it in this pretty paper (that looks a bit like the bag)
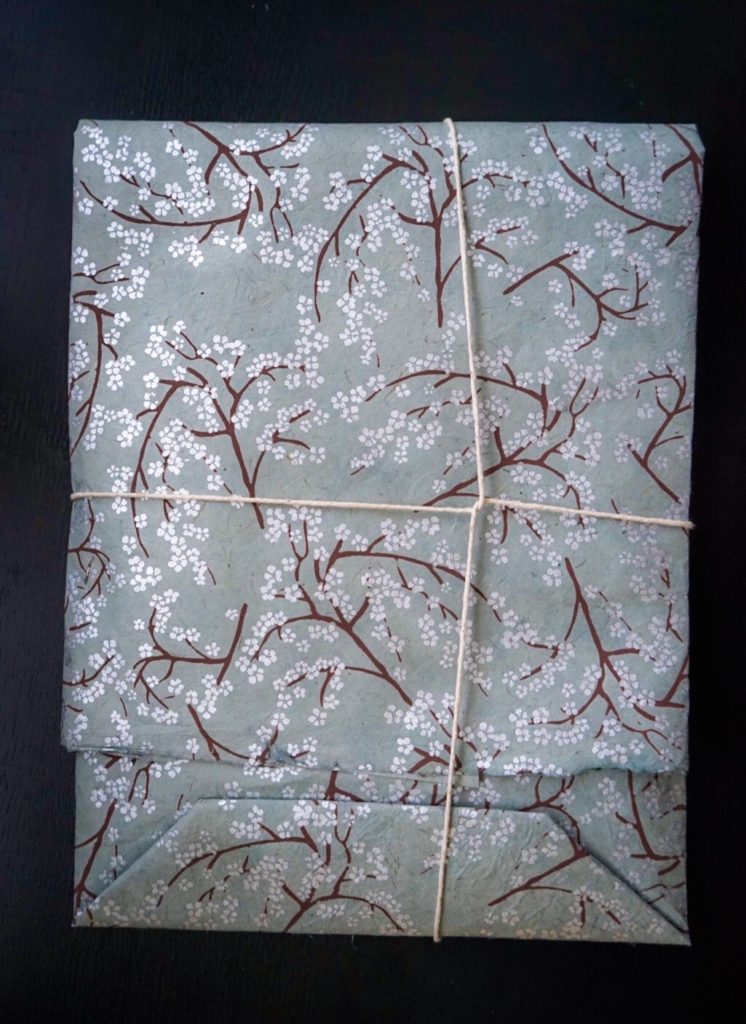
Made a little envelope bag.
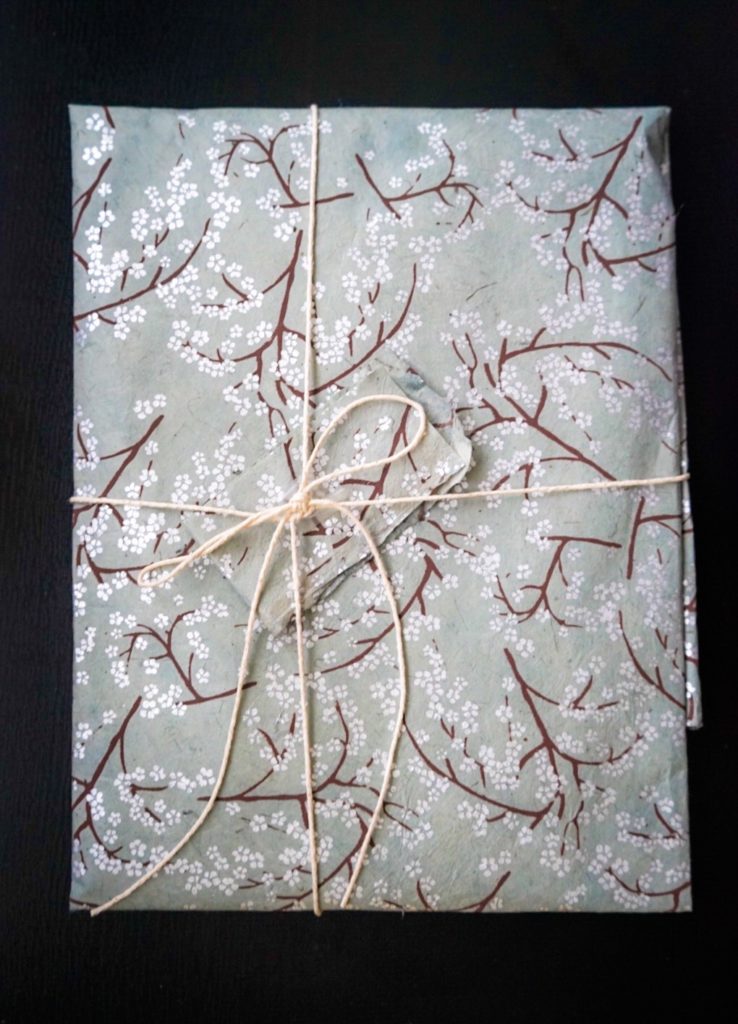
And tied with twine to give a rustic vibe.